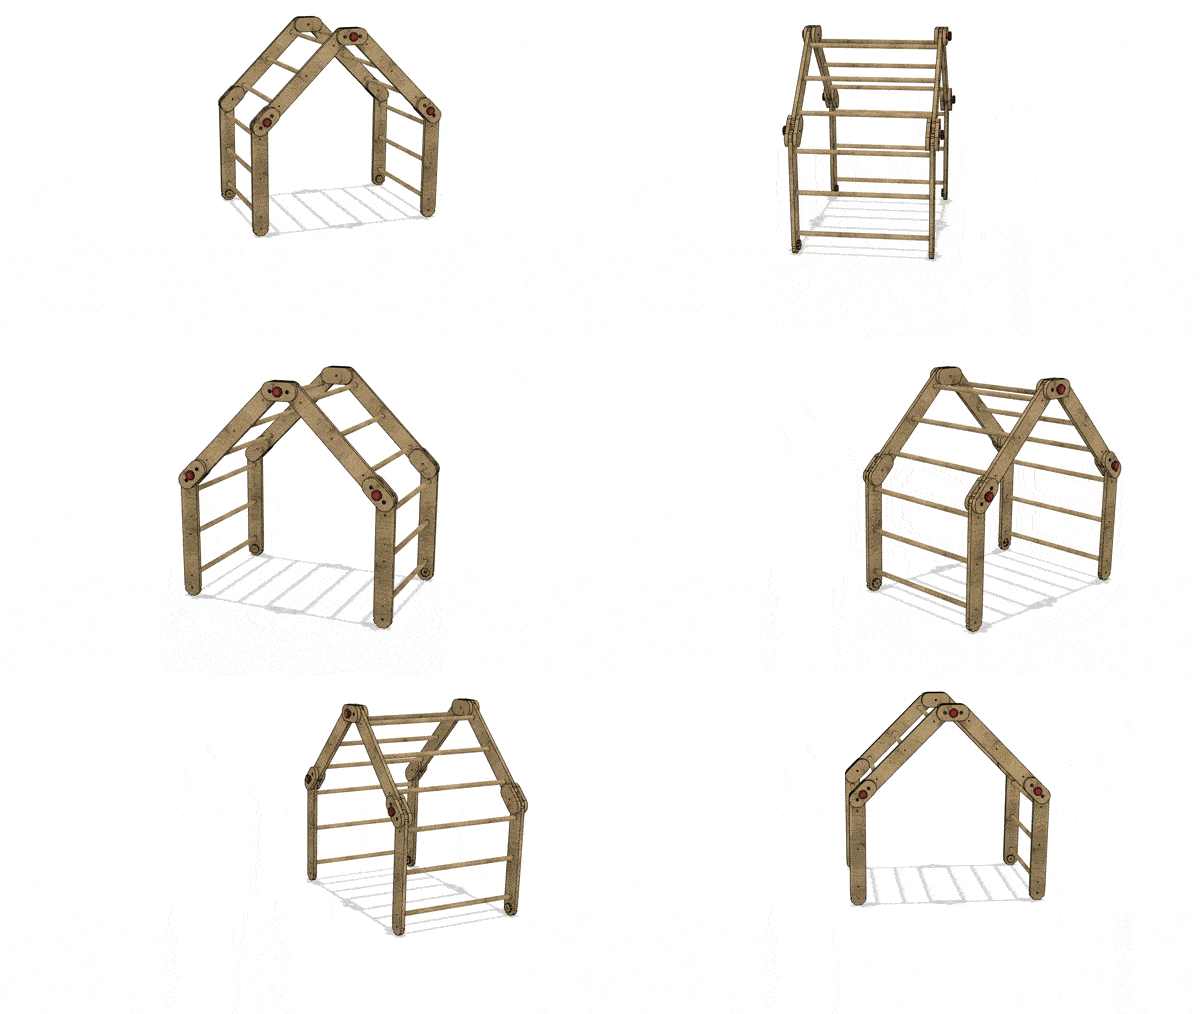
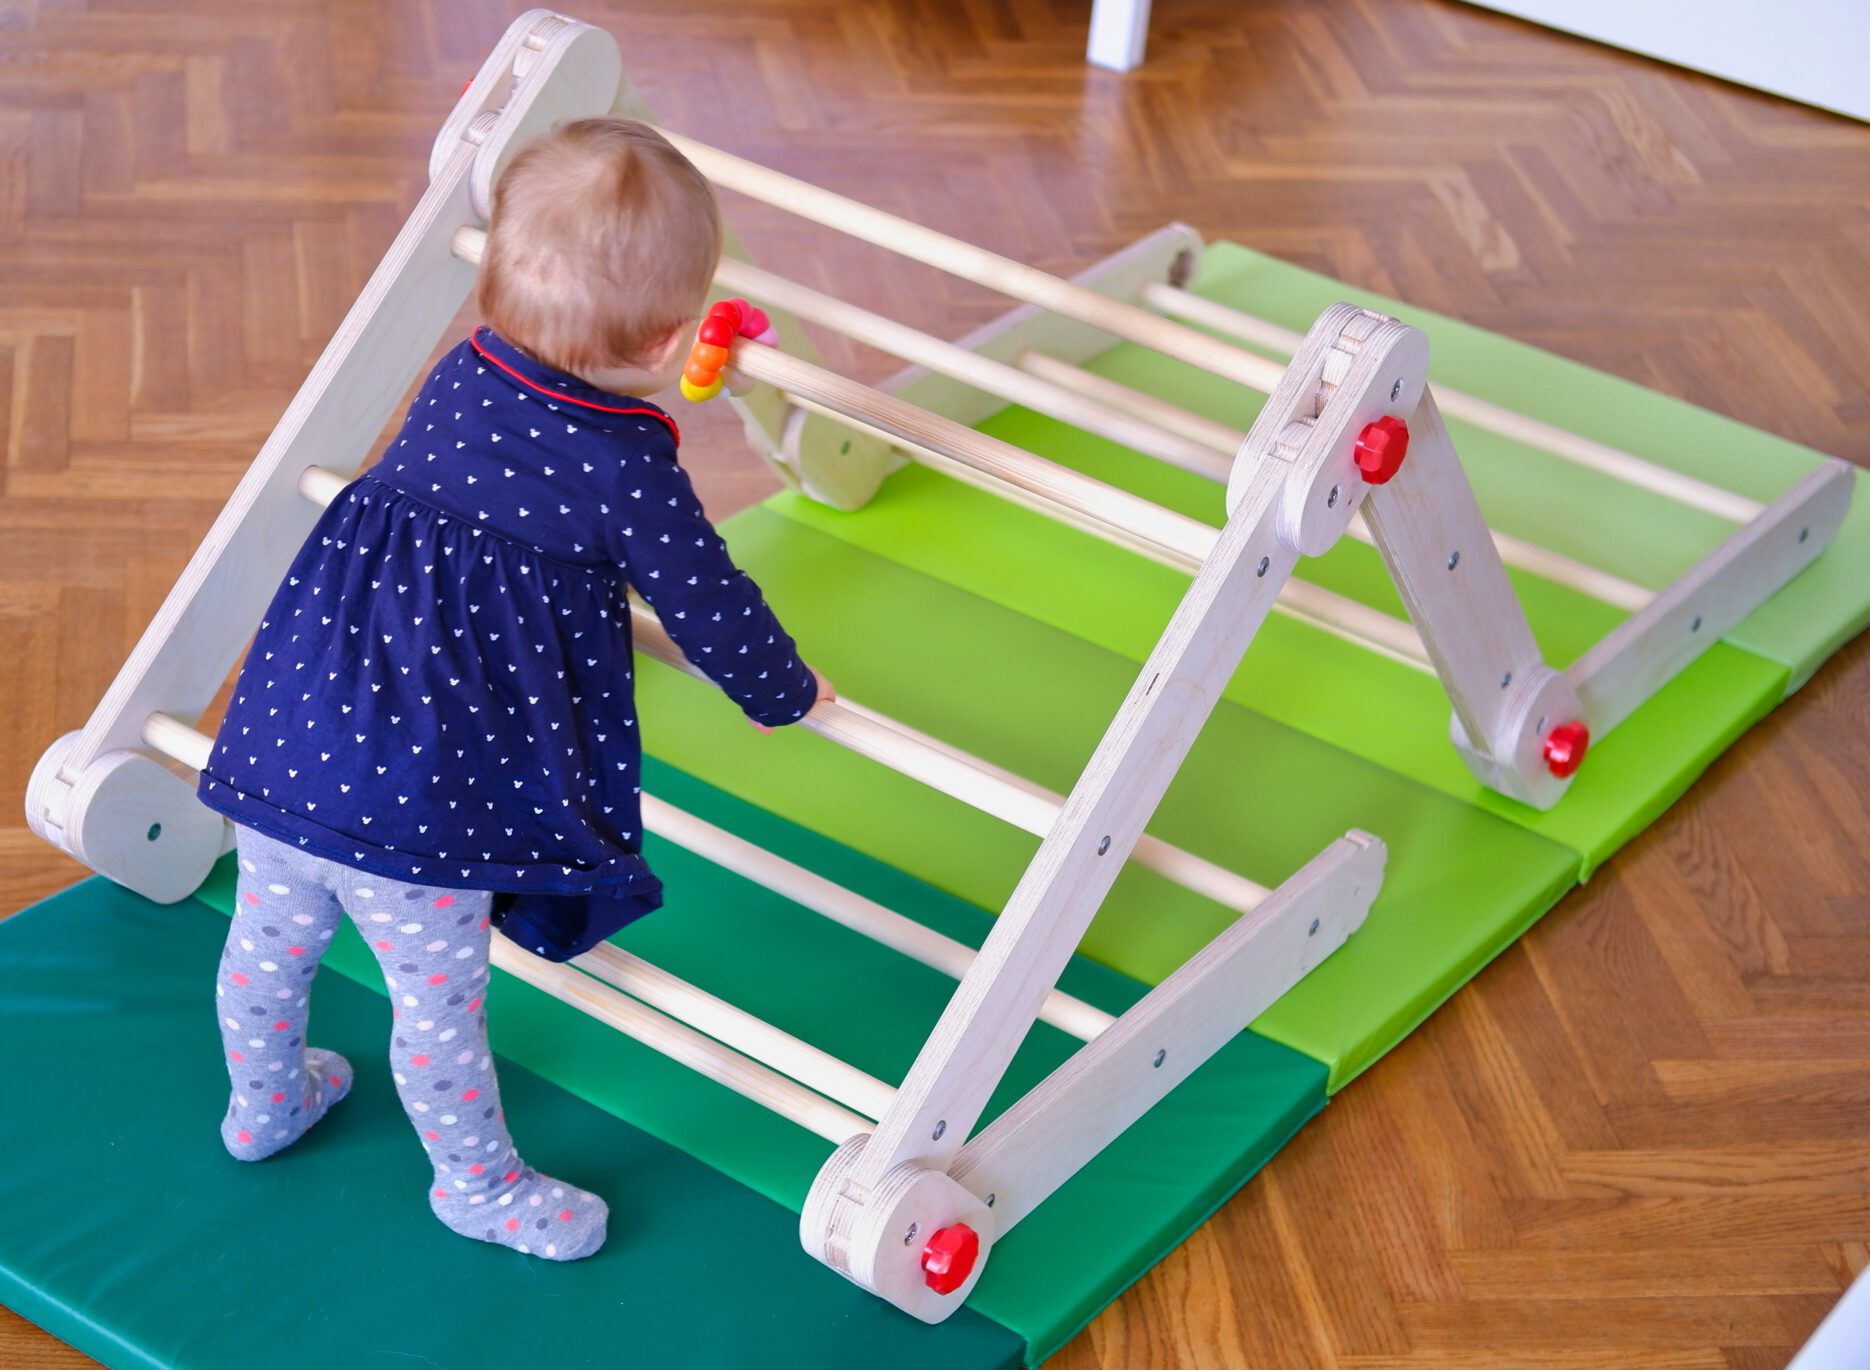
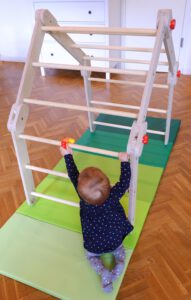
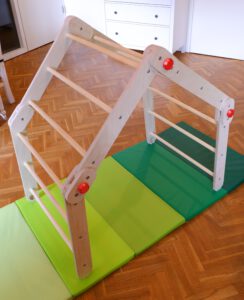
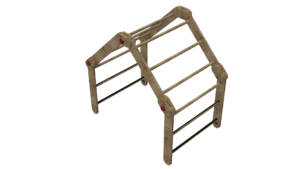
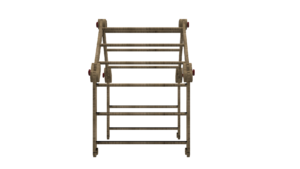
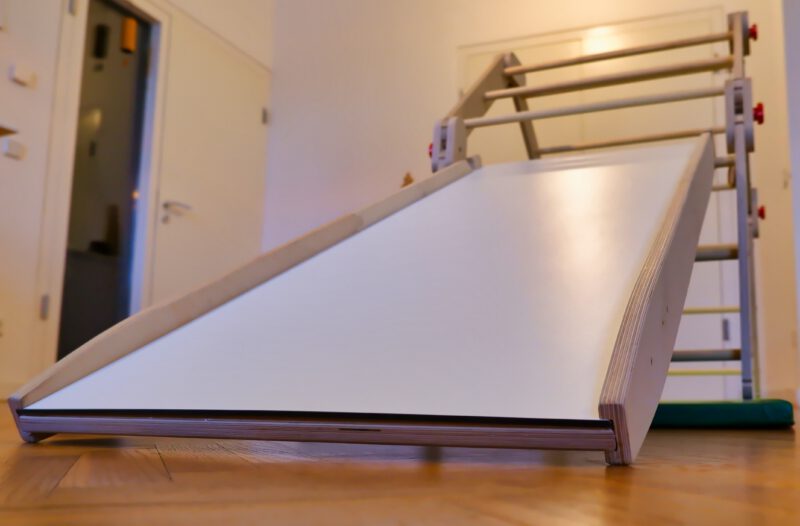
This variable pikler climbing frame lets your children build a wide variety of climbing combinations.
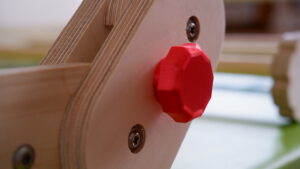
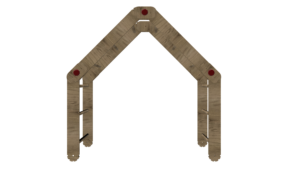
You can rotate every joint and fix it in place with an easy locking mechanism.
The wooden frame is built out off 18mm birch plywood, the knobs are 3D-printed out of PLA and the locking mechanism uses off the shelf hardware, that you can buy in any hardware store.
project facts
| dimensions: | four variable segments with a length of 600mm, 700mm width |
| material: | birch plywood, PLA (knobs), steel hardware |
| estimated maeterial cost: | ~95€ |
| tools: | cnc-router, 3D-printer, power drill, saw, sanding pads |
| difficulty: | intermediate |
| build time: | 1-2 days |
3D-model
materials
| material | estimated cost |
|---|---|
| birch plywood (1250 x 1250 x 18mm) | 45€ |
| round wood Ø23mm – 8m long | 20€ |
| SPAX screw, 6,0 x 80 mm | 5€ |
| M6x15 flanged nut | 7€ |
| M6x12 Allen screws with flange | 8€ |
| 6x M8x70 bolt | 3€ |
| 6x M8x25 threaded inserts | 4€ |
| PLA for printing the knobs | 3€ |
| sum | ~95€ |
building process
The individial parts are quite complex but the process of putting them together is fairly simple.
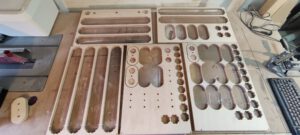
- let the cnc-machine do it´s job and cut the eight long wooden pieces, the connection plates and the star-connectors
- cut the round wood to length while the machine cuts your pieces and sand them all to the same length
- remove the wooden parts from the cnc and sand the outer edges (ideally you let the machine do a finishing pass, so you don`t have to do that much sanding)
- screw the round wood pieces into the side plates and create four separate frame units
- Screw the six threaded M8 inserts into the inner connection plates
- use the M6 hardware to connect the out connection plate to the outer frames
- optional: 3D print the star knob screws or alternatively use off the shelf parts (i could not find them in the right length so i printed them myself)
- Put the stars in the side panel cutouts, locate the connection plates on top of each other in the desired angle and screw them in place using the M8 star grip screw (see video below)
- rearrange the setup to your liking
project pictures
inspiration
The project inspiration came from different Etsy-products. For example by HappyMoonLV, WoodGrainLab and Bilauf.
All of those had long shipping times to germany and were pretty expensive. So i did it myself 🤷♂️.
social
If you want to stay tuned for future projects follow me on Instagram:
@things_ex_machina
4 Comments
Add Yours →[…] an upgrade to the kids climbing frame i built this two sided add-on board. You can use both sides. The first one for climbing and if you […]
Hi, nice job. Is there a chance to get the 3d model?
Hey,
just drop me an email (mail@things-ex-machina.de) and i can send you the fusion 360 file.
best regards
Andy
can’t find instructions how to build the child…