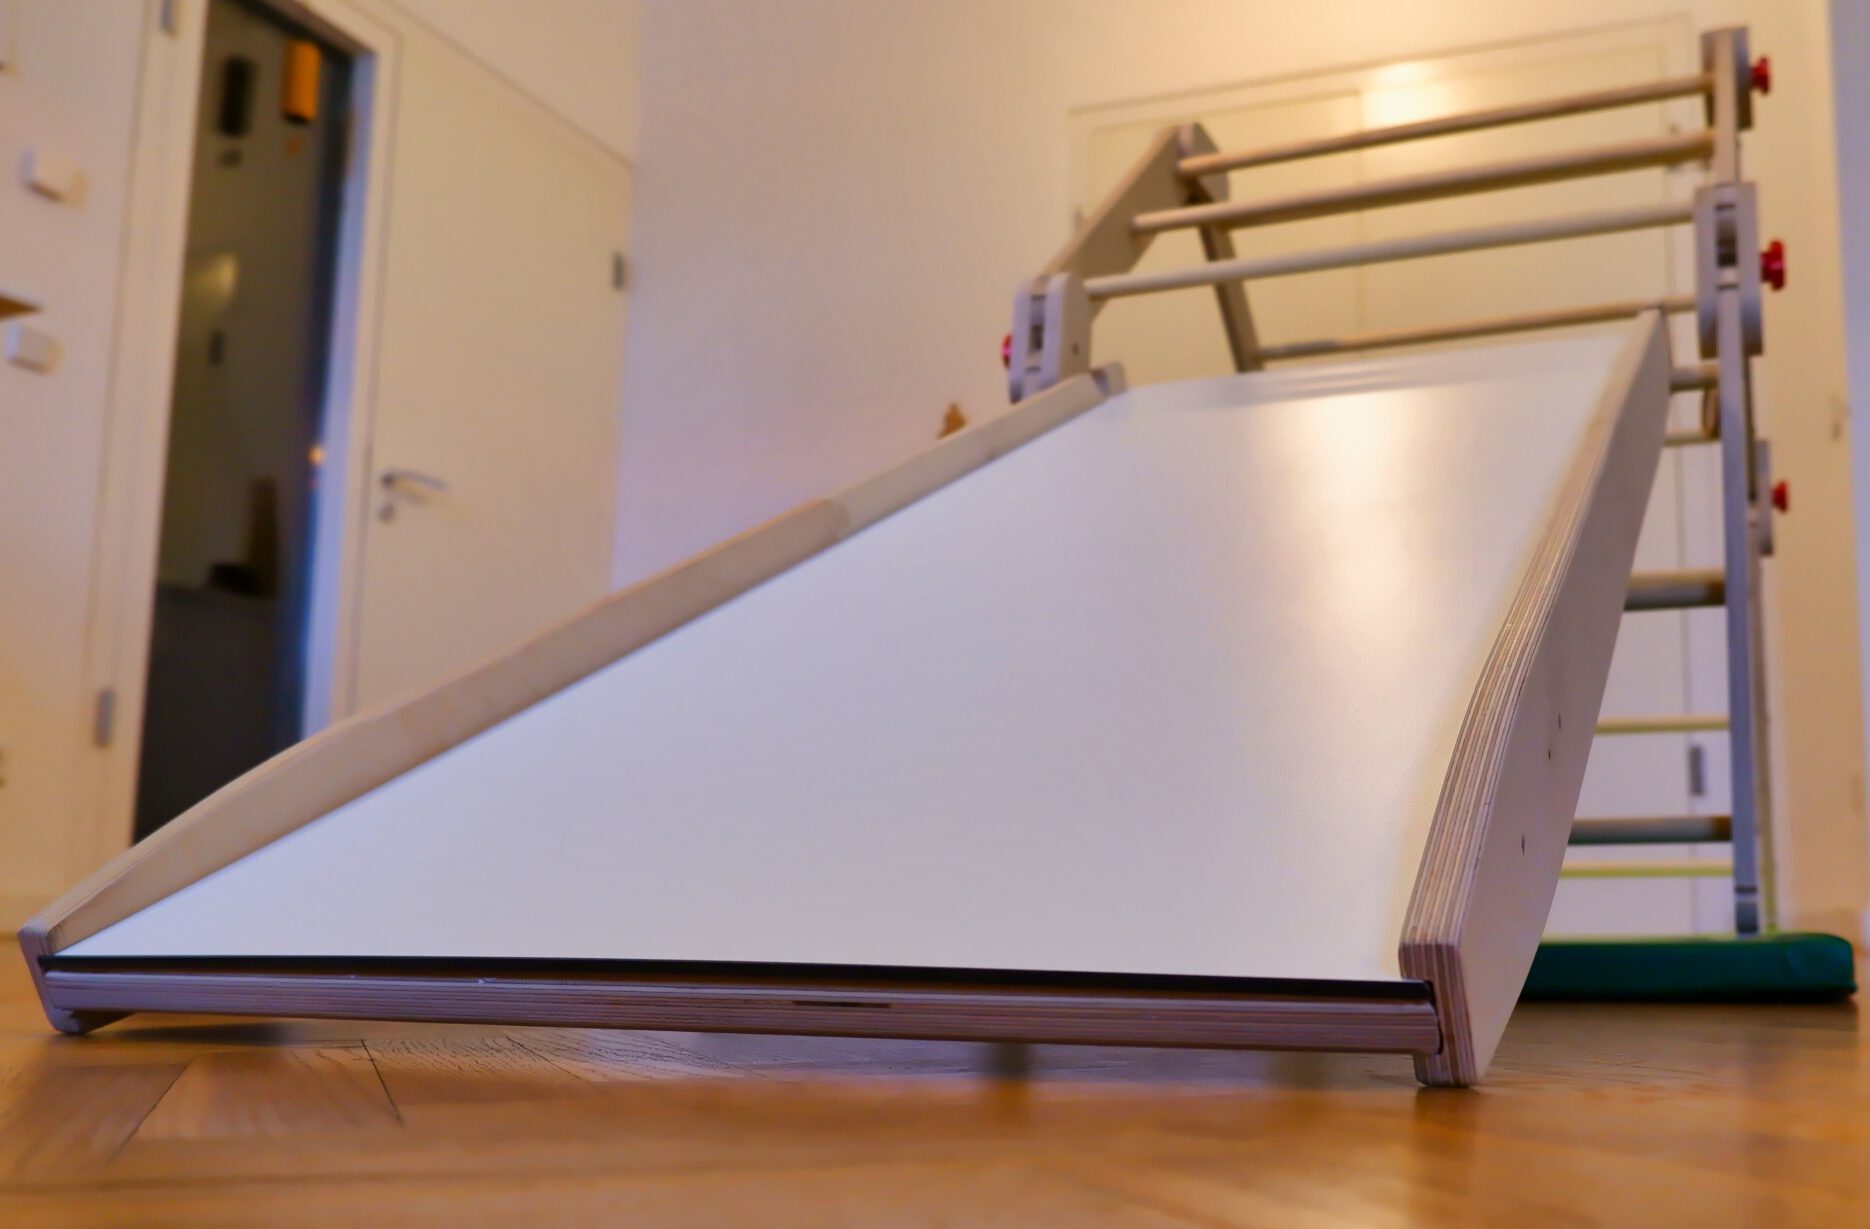
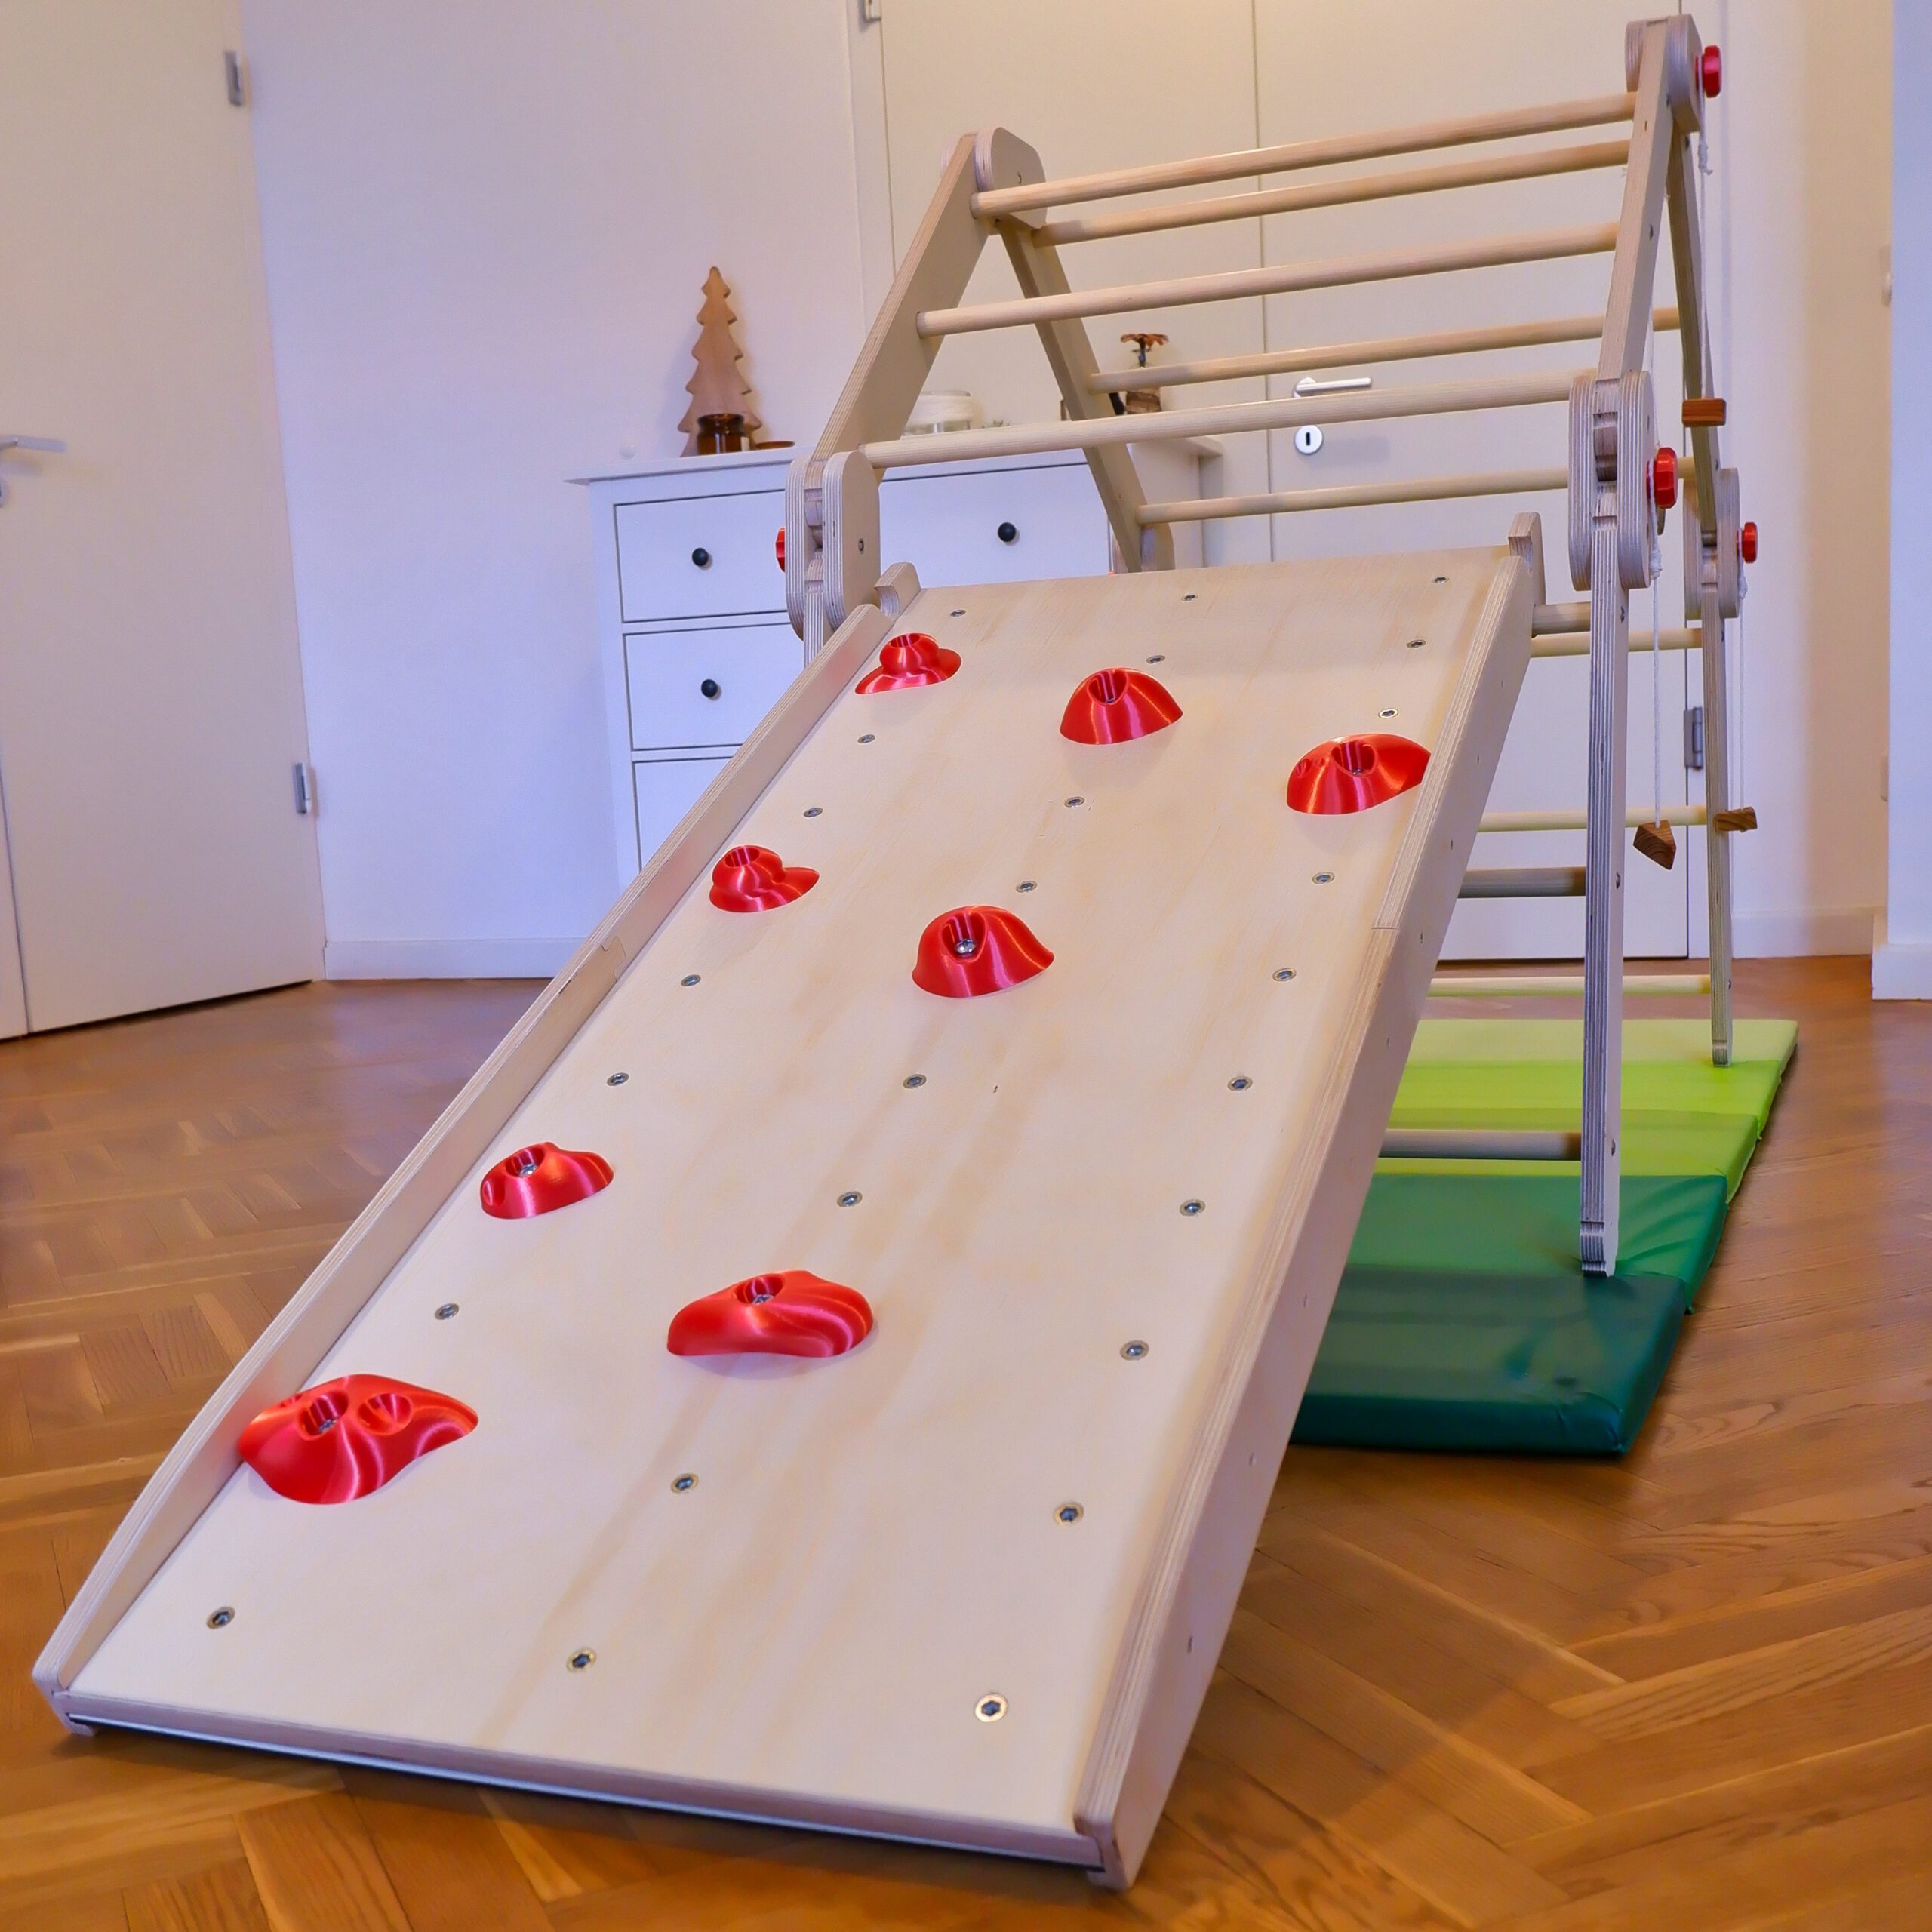
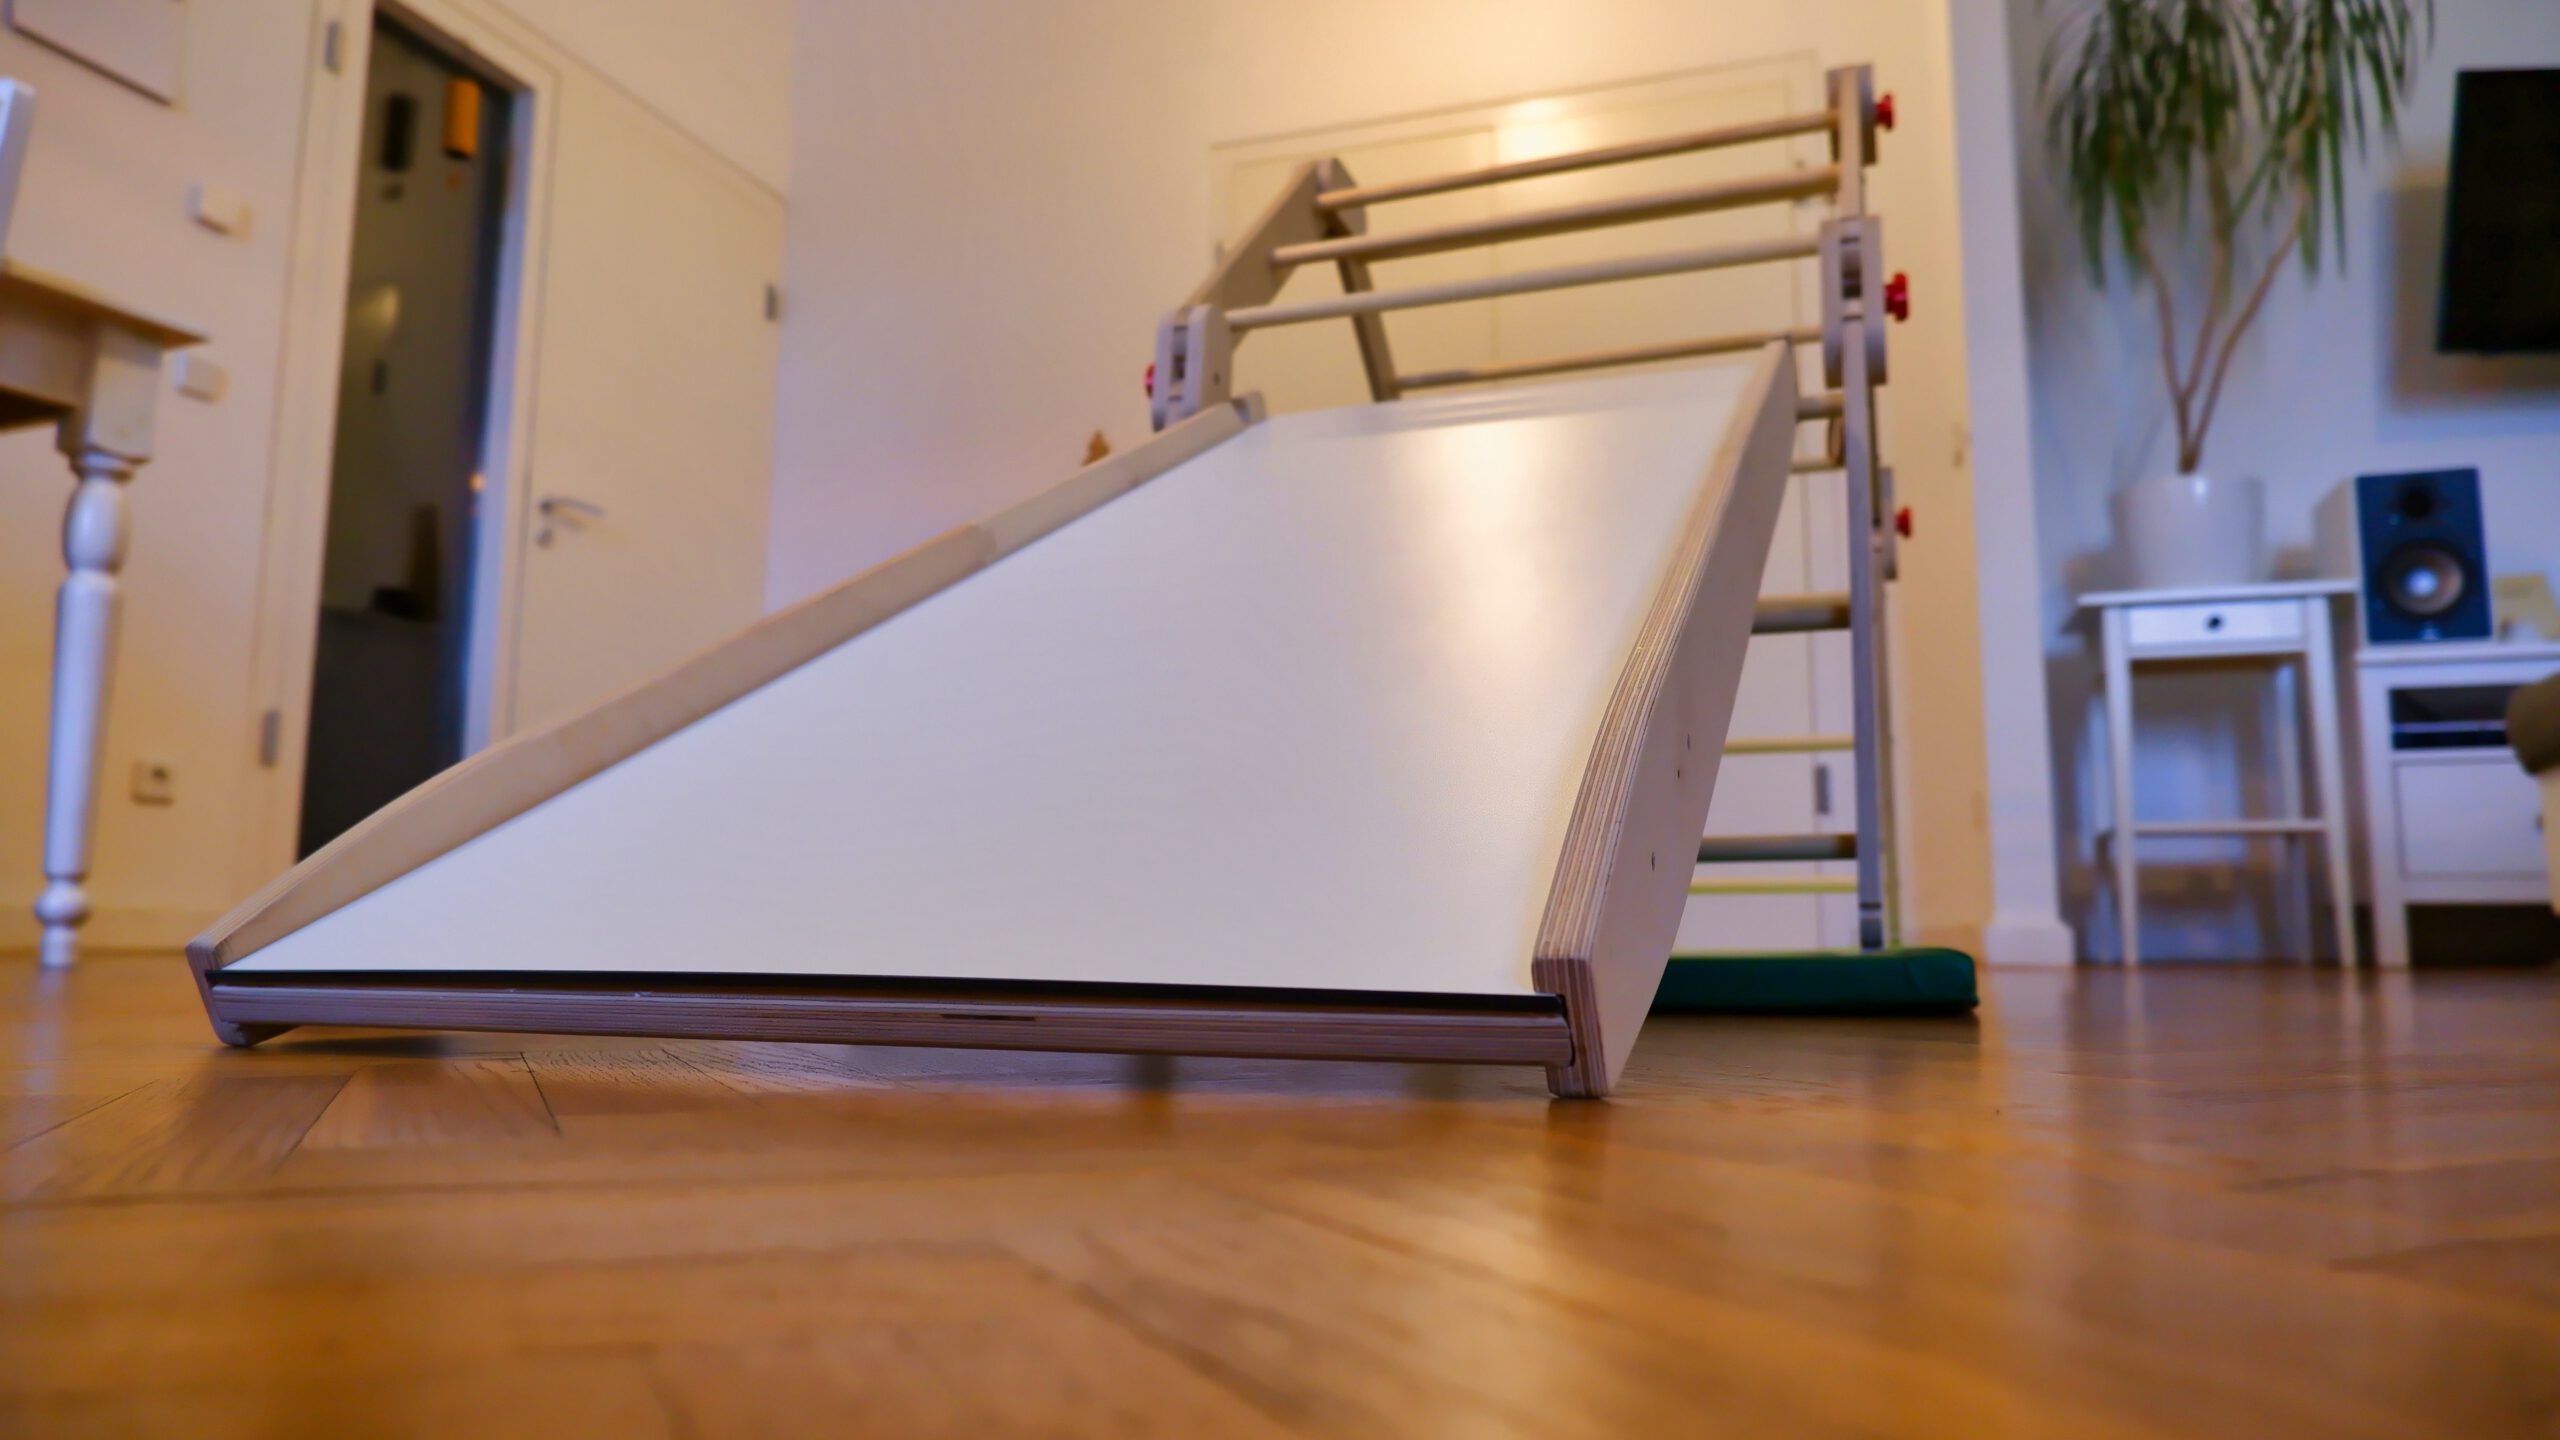
As an upgrade to the kids climbing frame i built this two sided add-on board. You can use both sides. The first one for climbing and if you rotate it 180° it is a slide.
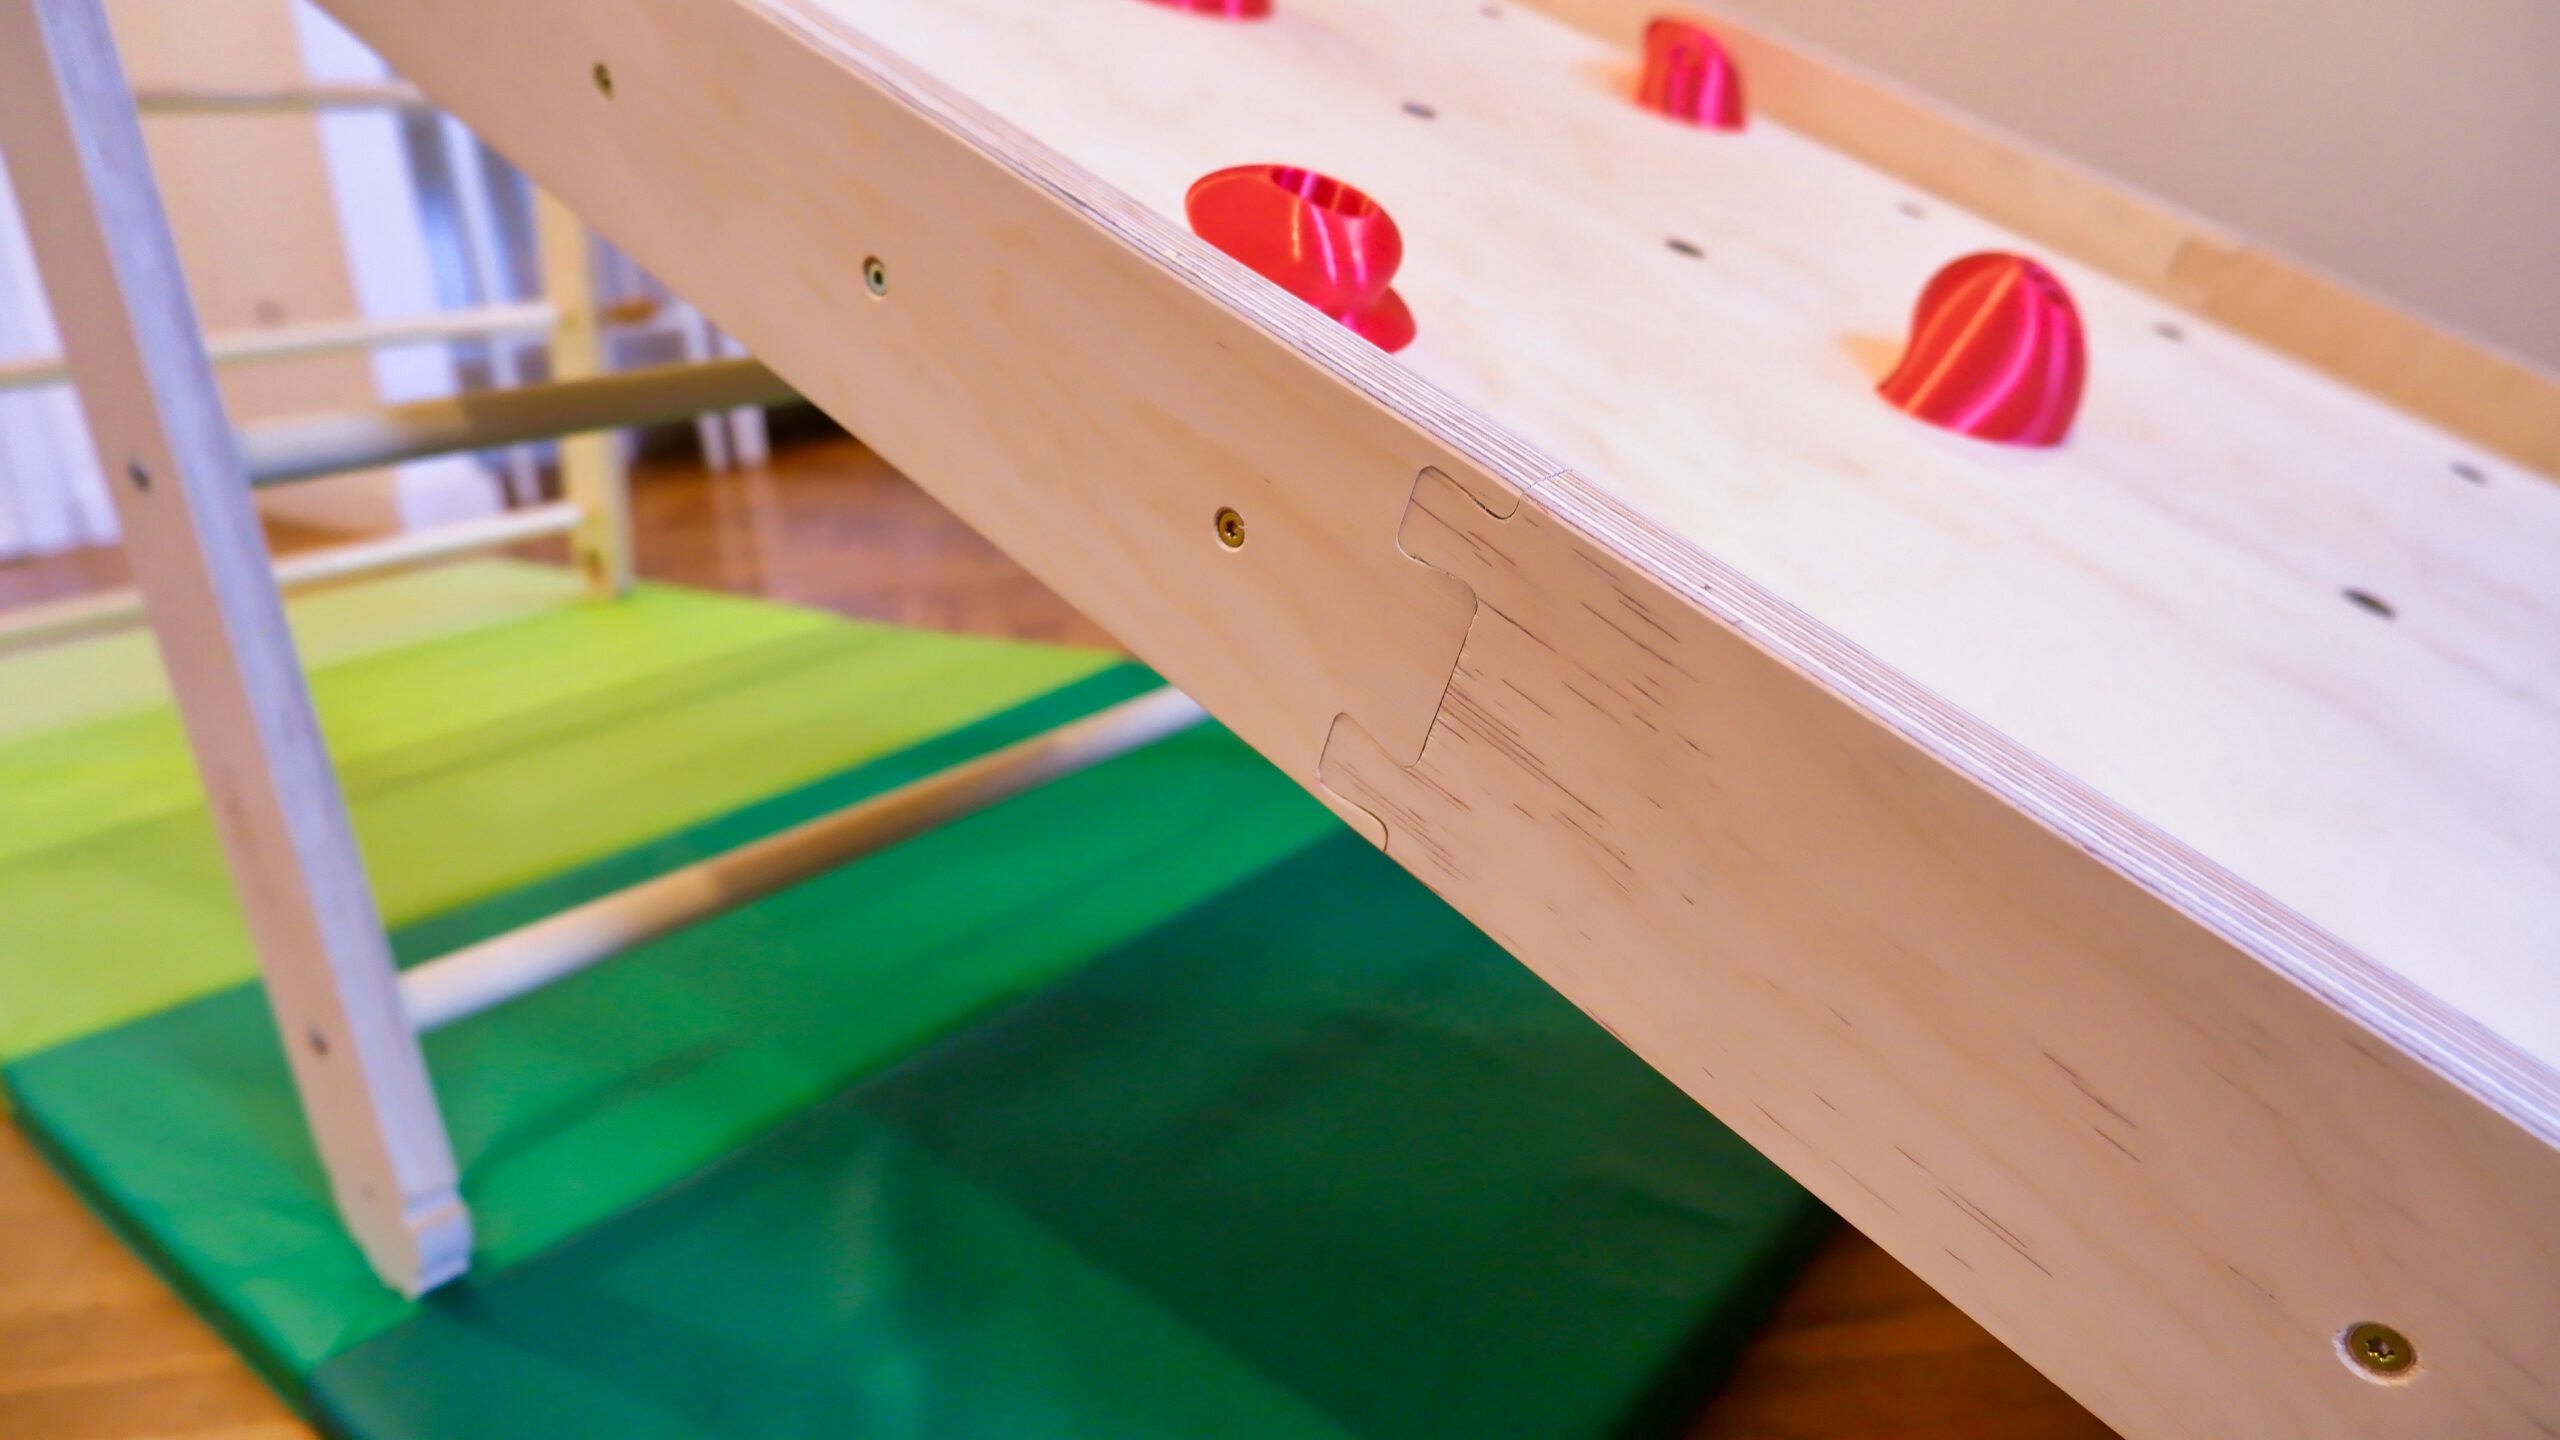
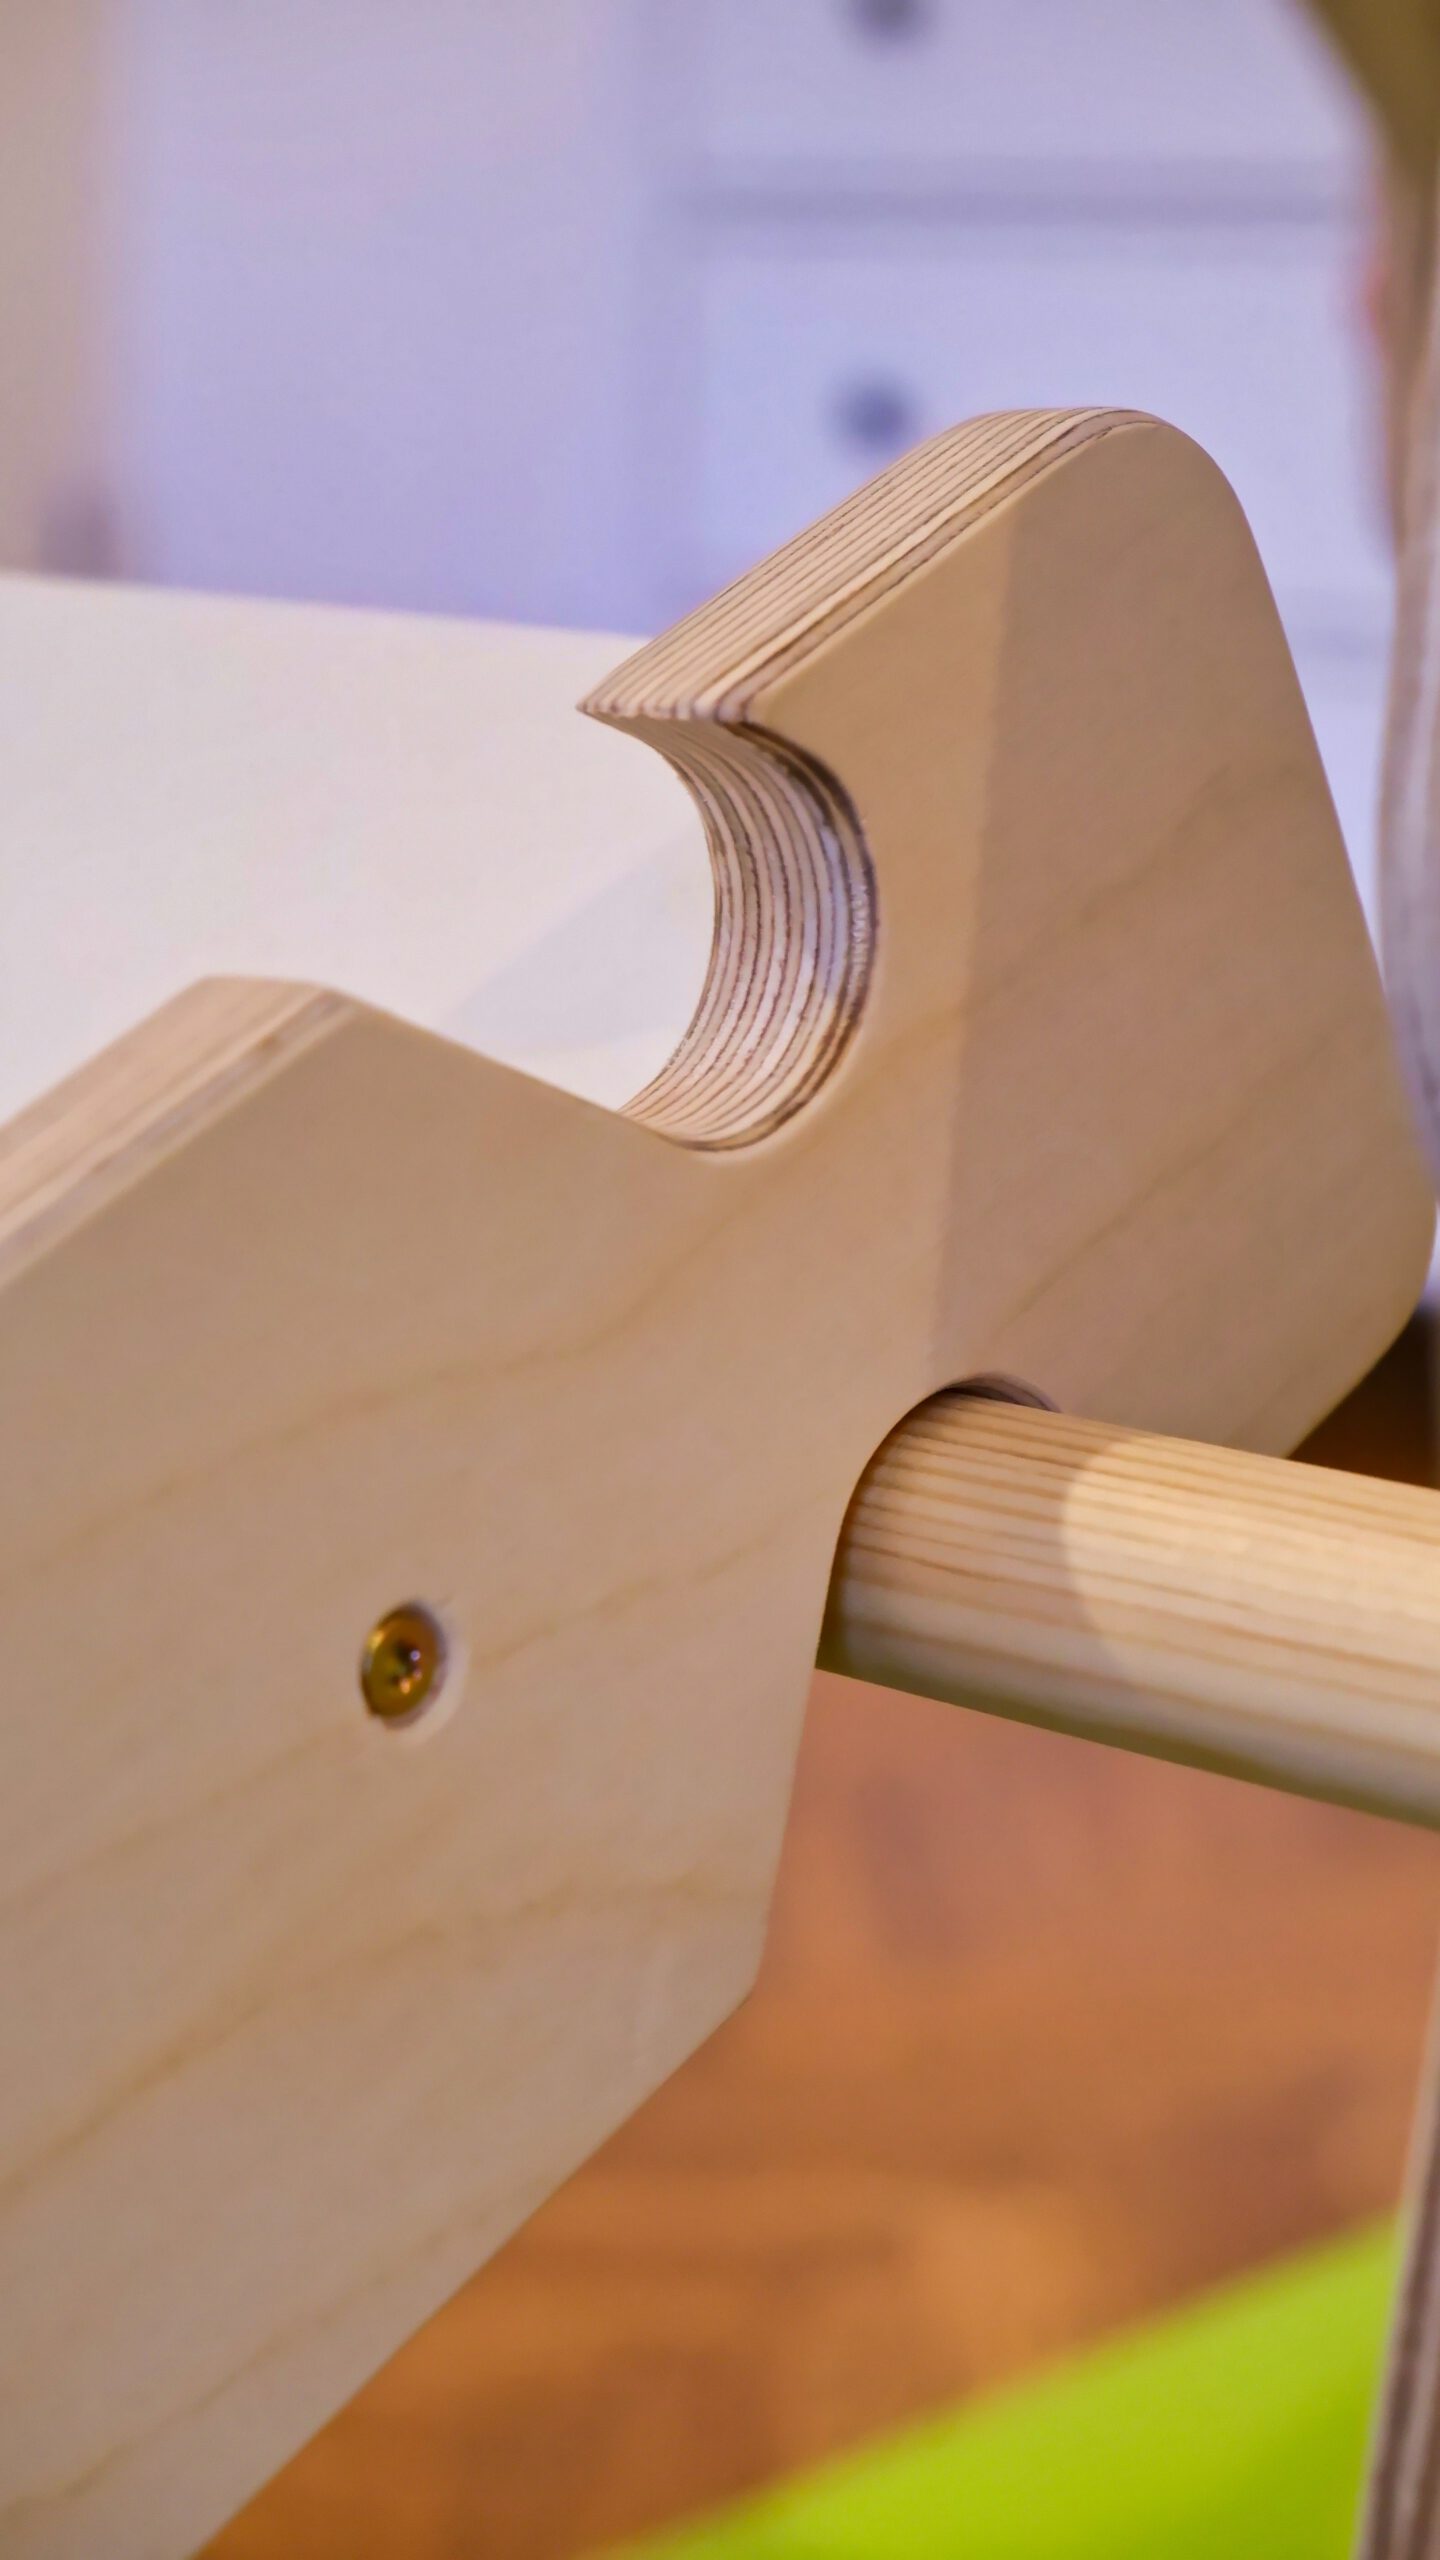
Each side of the border frame is cut out of two pieces of 18mm birch ply. It has a slot in the middle that integrates two boards, another birch ply panel and a melamine coated laminated pressboard.
The climbing holds are 3D-printed!
project facts
| dimensions: | 1220mm x 538mm x 84mm |
| material: | birch plywood, melamine coated laminated pressboard, PLA (climbing handles), steel hardware |
| estimated maeterial cost: | ~71€ |
| tools: | cnc-router, 3D-printer, power drill, orbit sander, belt sander, router with round over bit |
| difficulty: | intermediate |
| build time: | 4-6 hours (without printing time) |
3D-model
materials
| material | estimated cost |
|---|---|
| birch plywood (2050 x 500 x 18mm) | 30€ |
| melamine coated laminated pressboard (1250 x 500 x 18mm) | 20€ |
| wood screws | 3€ |
| wood glue | 2€ |
| 33x M8x25 threaded inserts | 8€ |
| red PLA for printing the climbing handles | 8€ |
| sum | ~71€ |
building process
- Print the climbing handles (this is the most time consuming part, so it is best to start with that) – this is the great thingiverse file i used: link
- Let the cnc cut the four side panels.
- Meanwhile you can cut the birch ply board and the melamine coated board to size.
- Drill the 33 holes (10mm) for the M8 inserts into the birch ply.
- Use a router with a roundover bit on all outer edges.
- Sand all outer faces till you get a smooth finish.
- Glue the two boards together and let glue dry.
- Use a mallet to hammer the side panels onto the compound board in the middle. I used a pretty tight press-fit.
- Countersink the holes on the side panel and screw them in place.
- et voilà
project pictures

social
If you want to stay tuned for future projects follow me on Instagram:
@things_ex_machina