
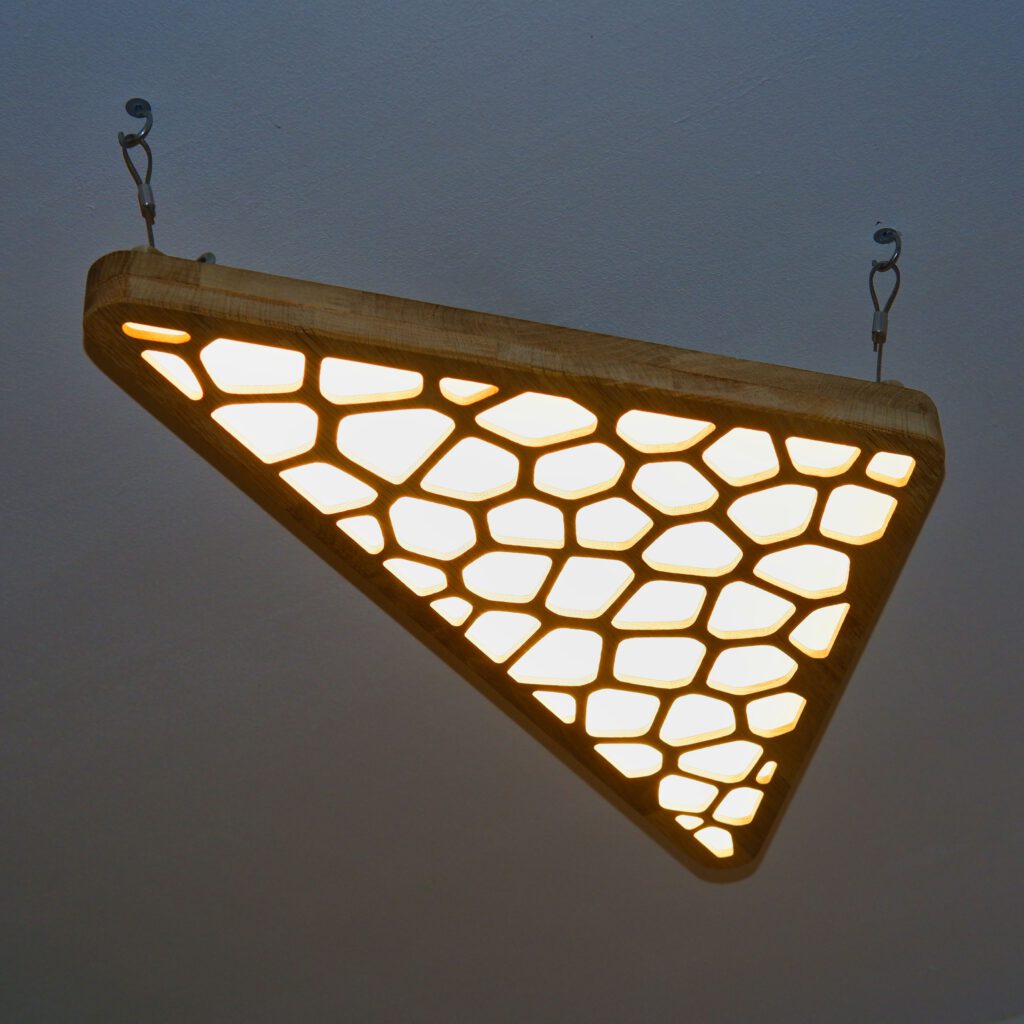
It was time for an upgrade for the ceiling lamp in our dressing room. I built a first version of this idea 3 1/2 years ago. This is the improved version in all aspects.
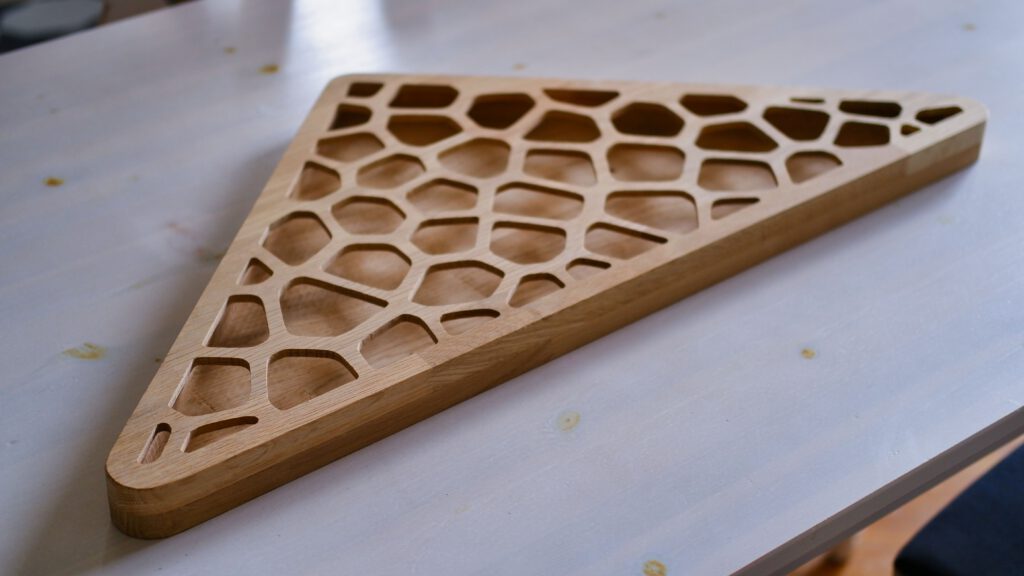
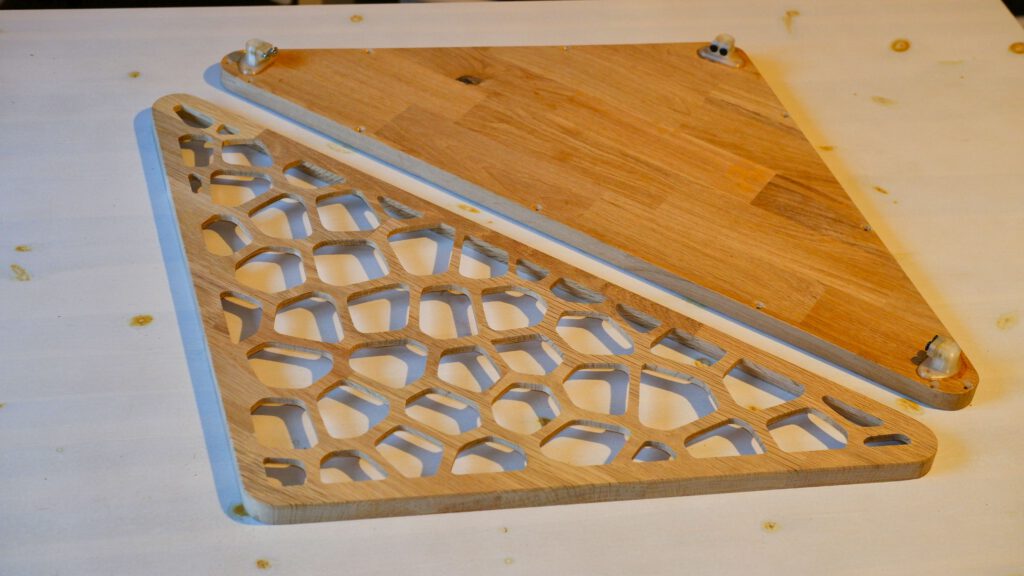
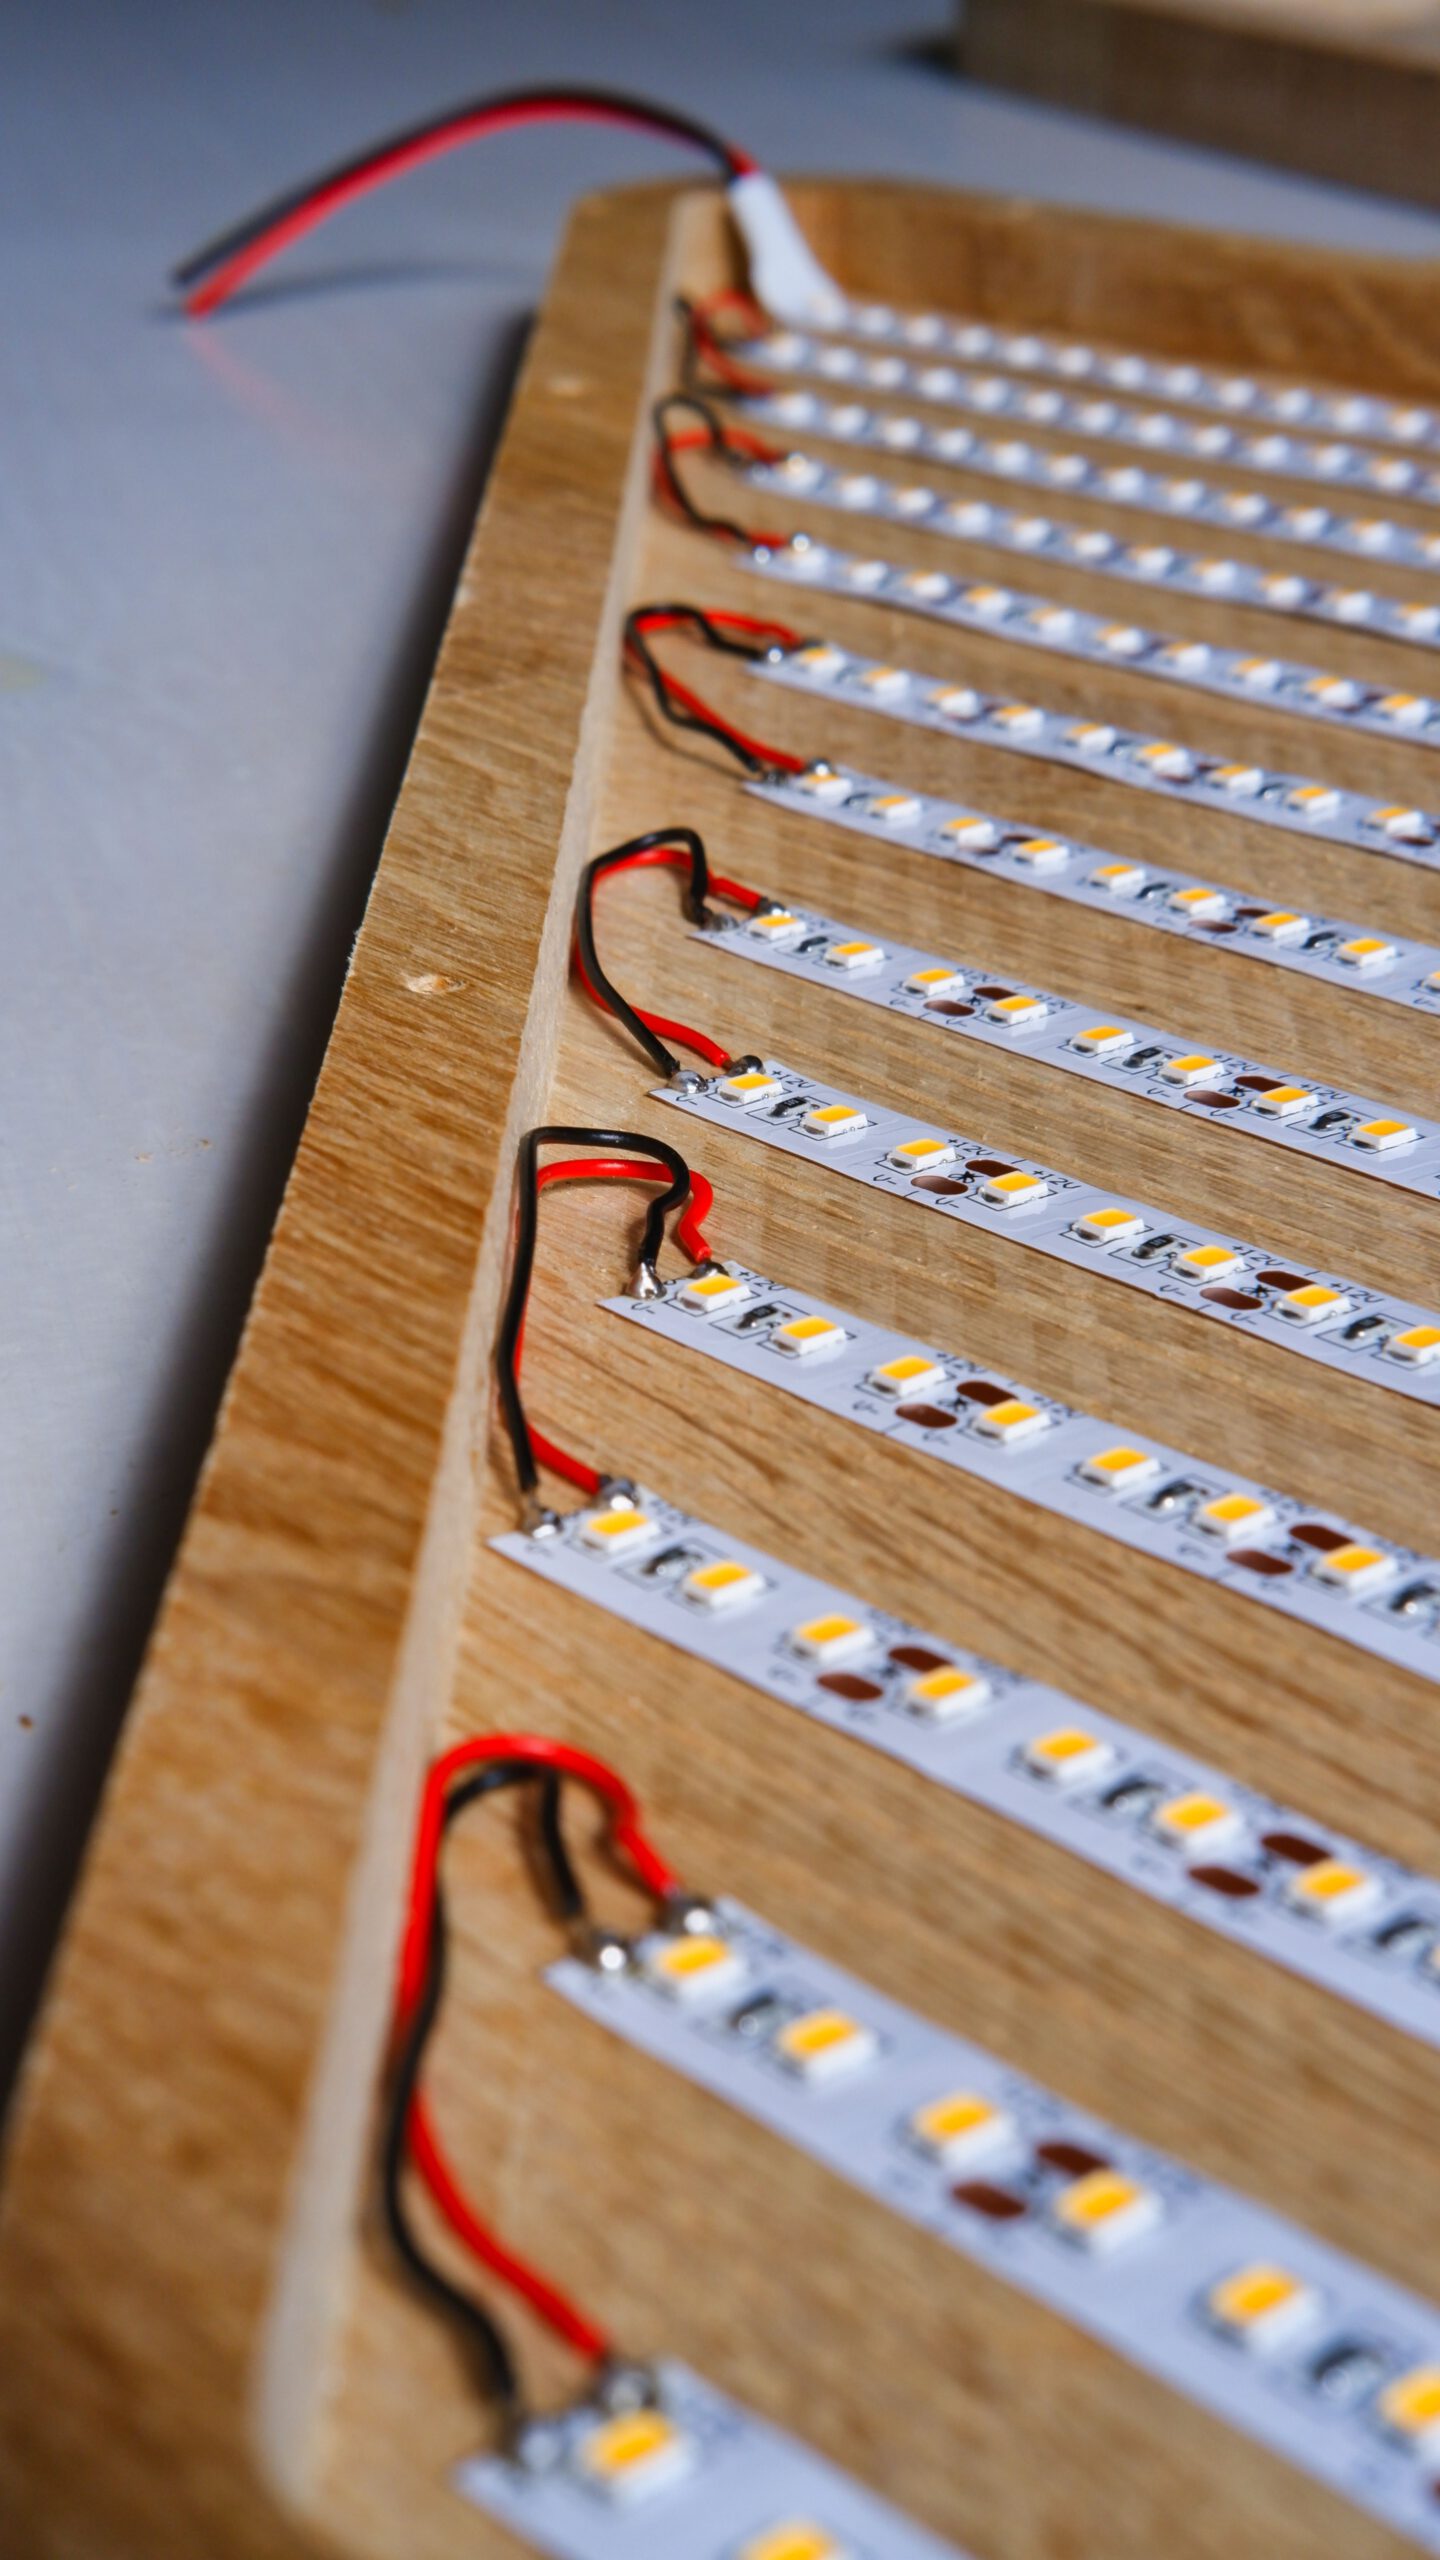
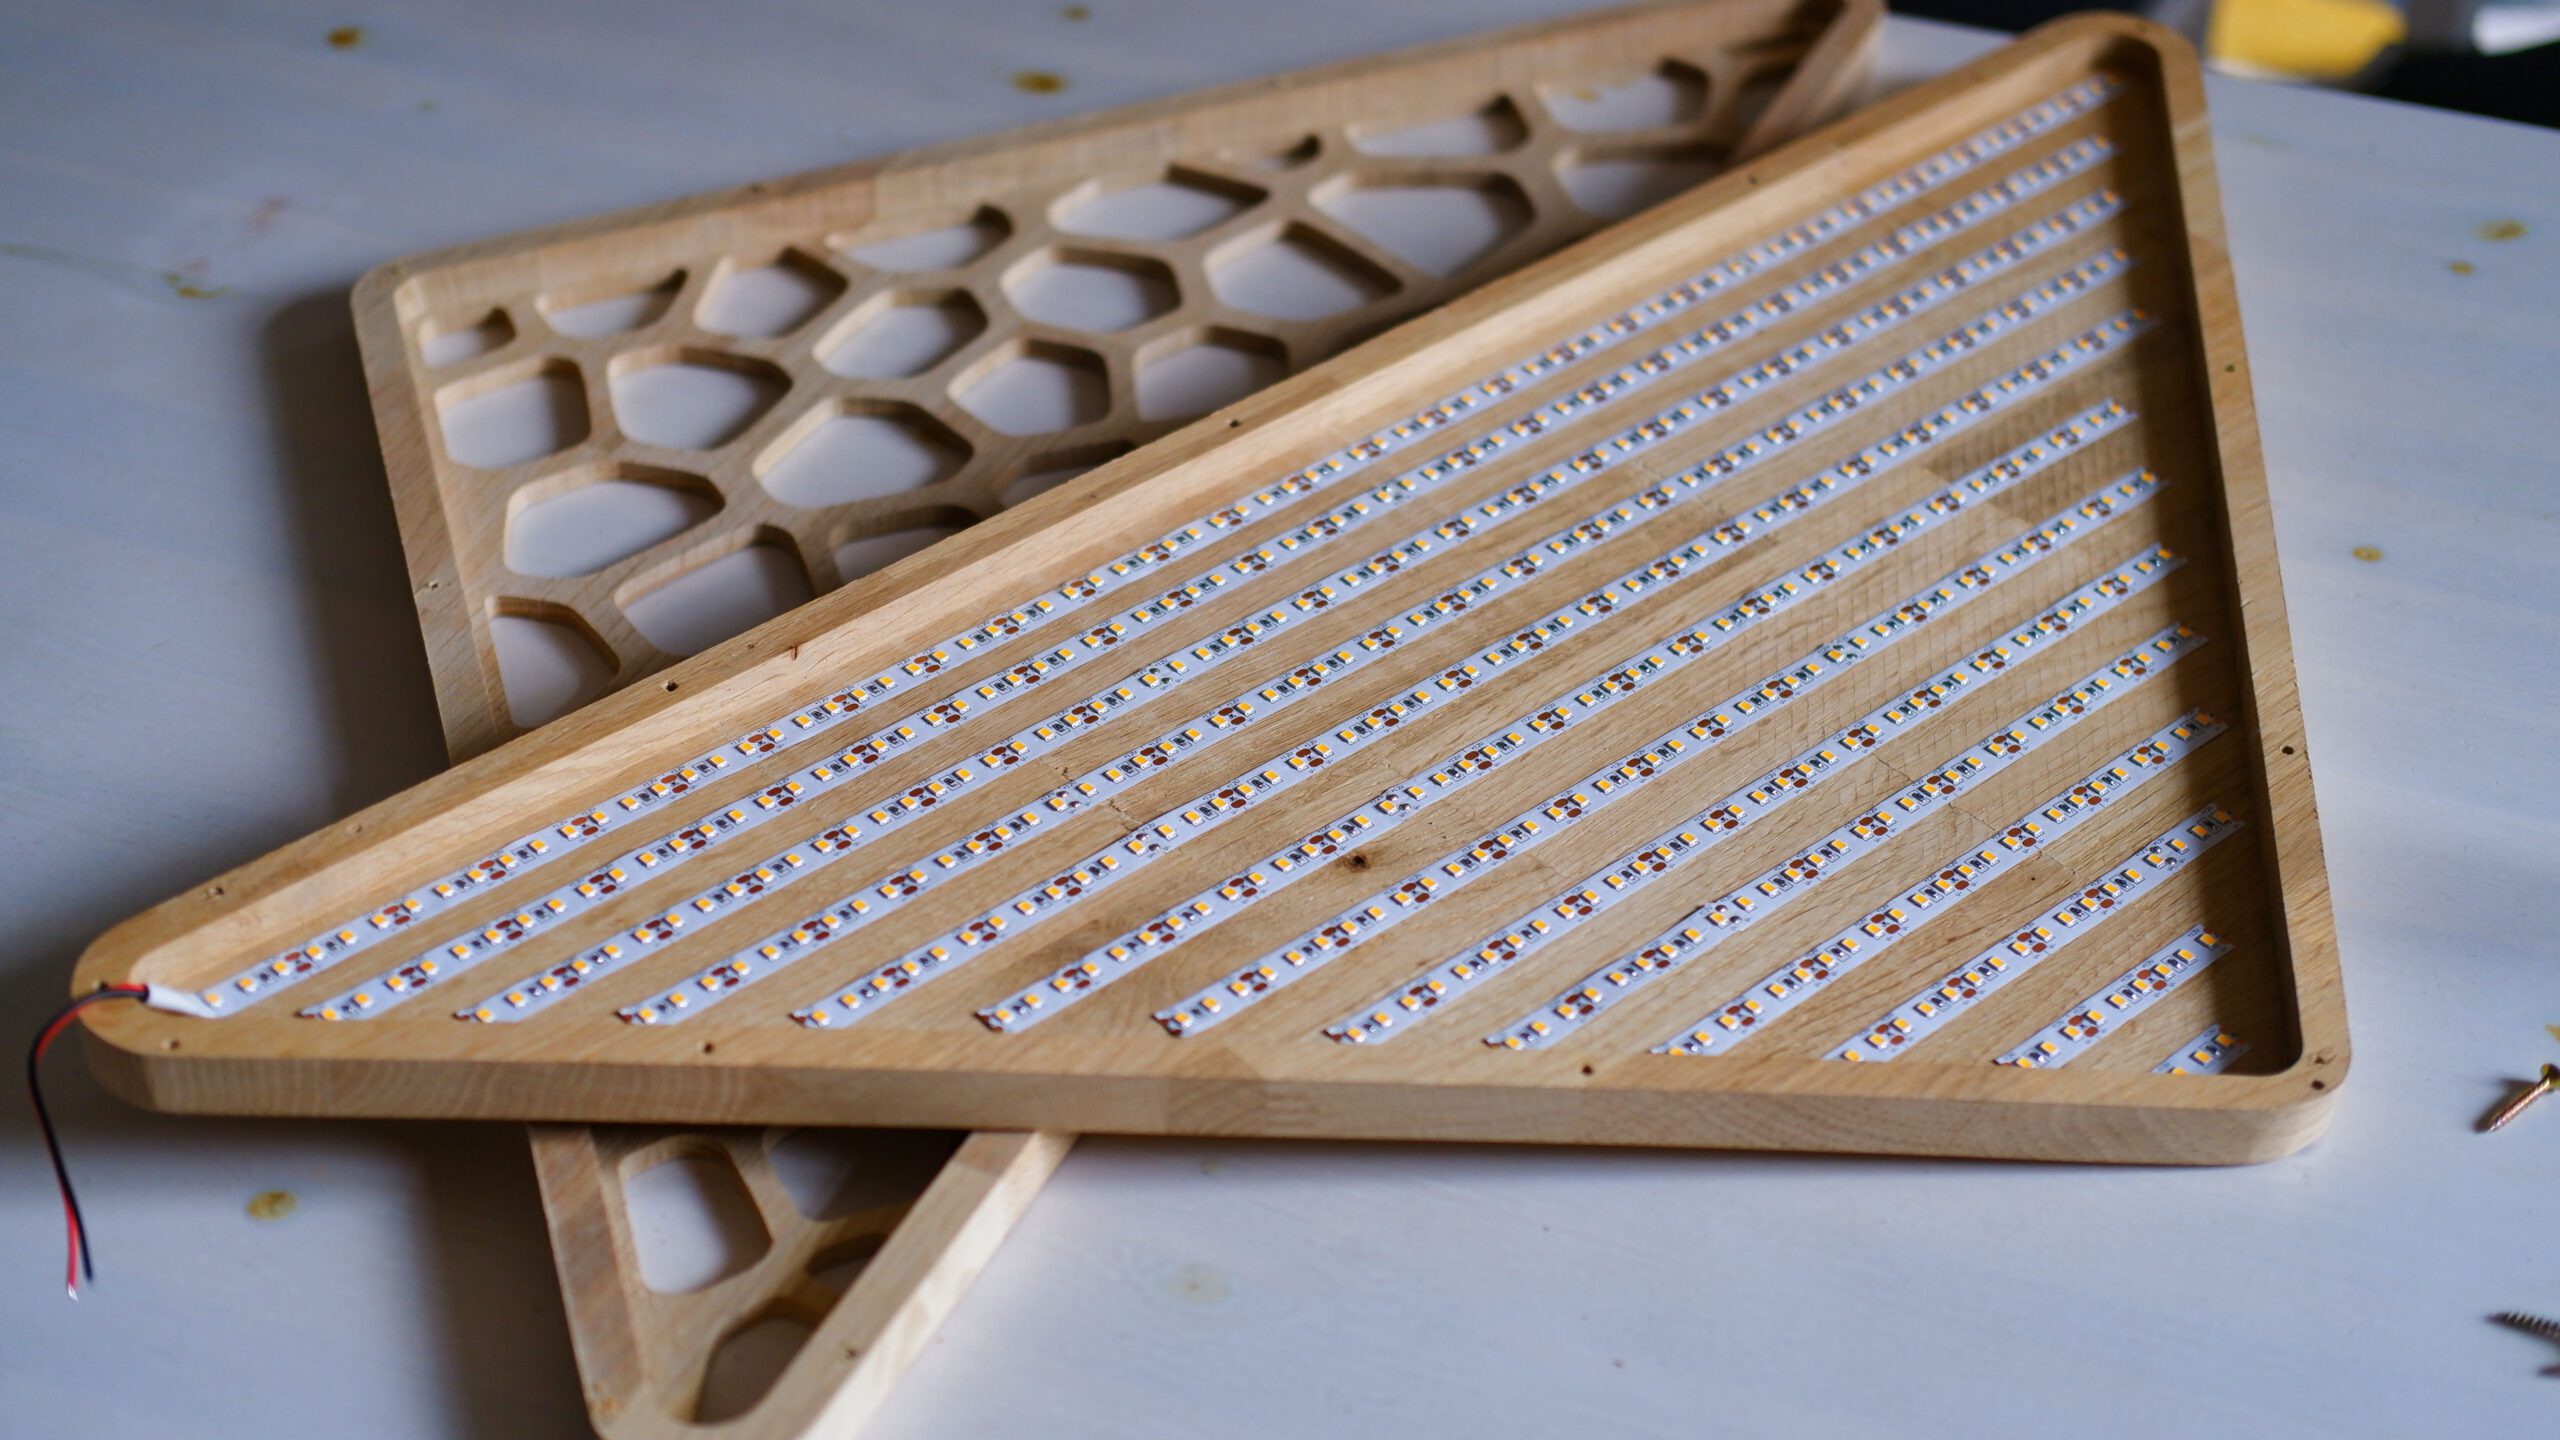
The main body consists of two 18mm solid oak pieces. The inner part is completely hollowed out to get enough distance from the leds to the diffuser. The bottom part of the wood also has cutouts in a voronoi pattern to let the light shine through.
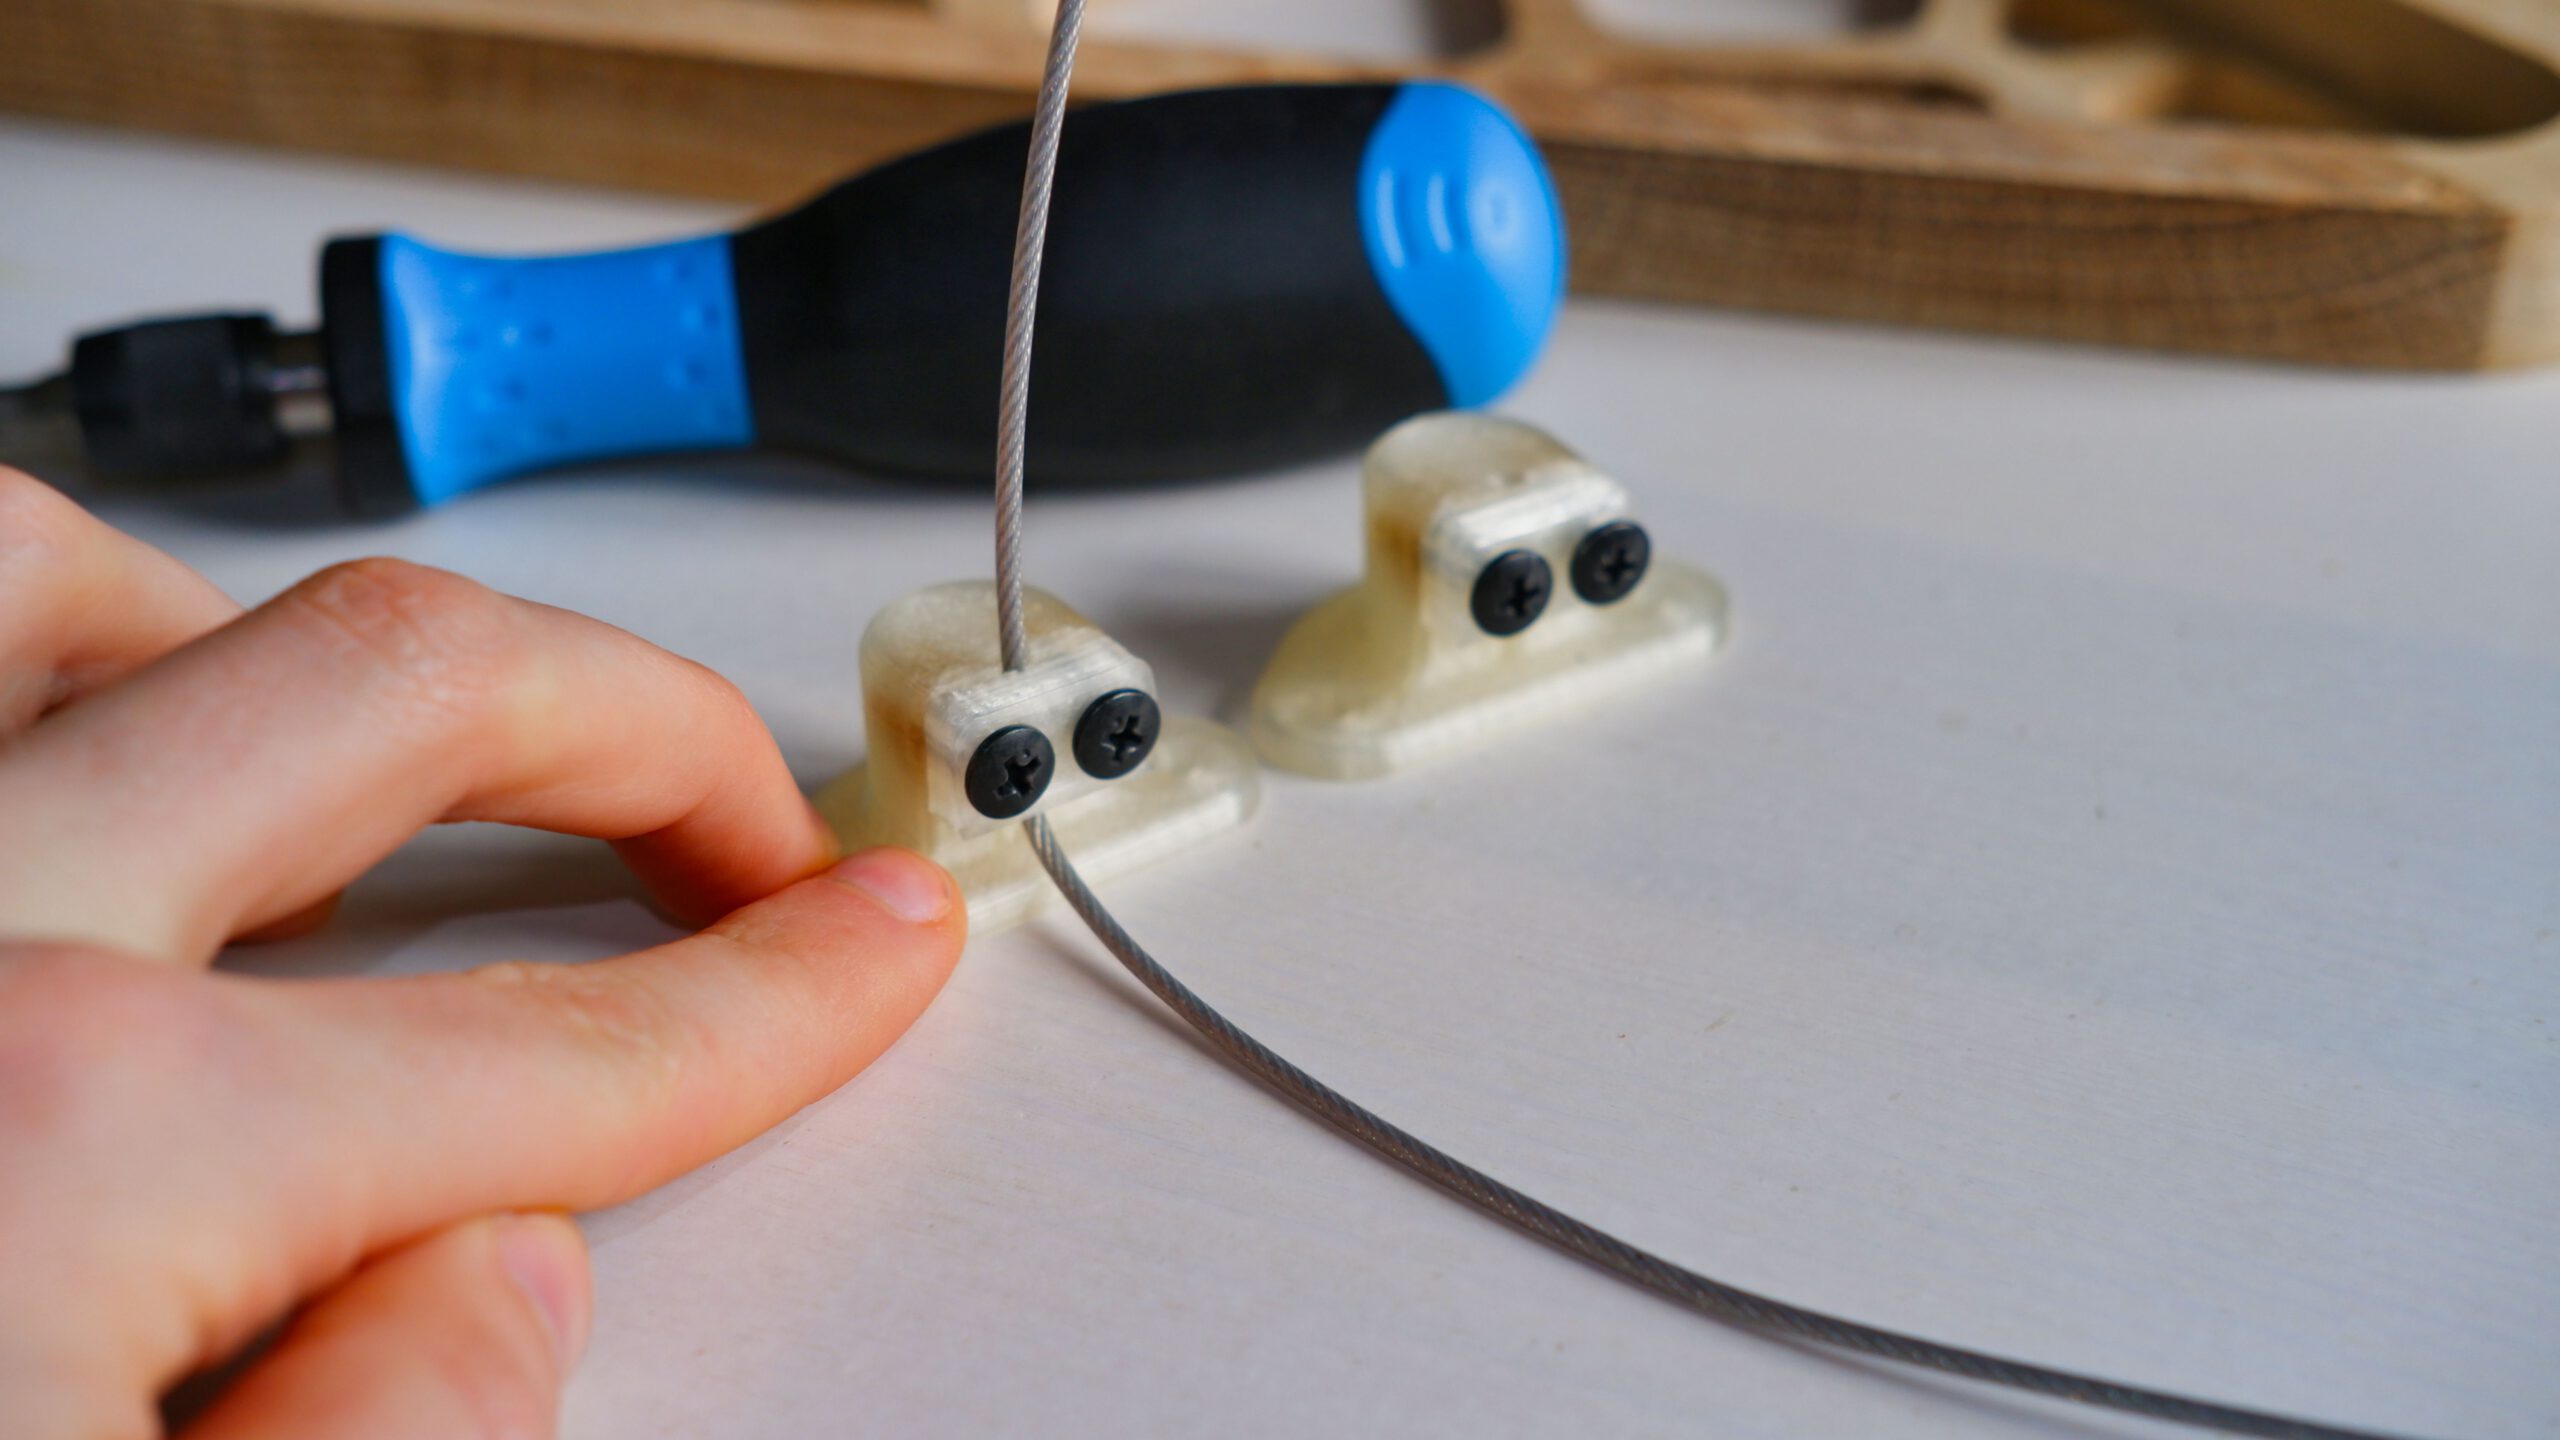
I designed some 3D-printed wire rope clamps to make the distance to the ceiling ajustable.
project facts
| dimensions: | ca. 50mm x 670mm x 350mm (HxWxD) |
| material: | 18mm solid oak, 2mm white translucent acrylic |
| estimated material cost: | ~71,5€ |
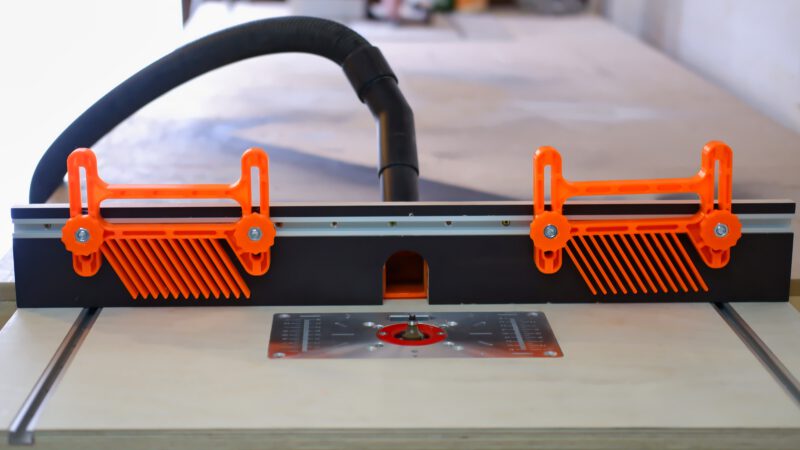
| tools: | cnc-router, 3D-printer (optional), sander, drill press (or atleast a drill), electrical equipment and a soldering iron |
| difficulty: | intermediate |
| assembly time: | 2-4 hours |
| cutting time: | ca. 5 hours |
| printing time: | ca. 4 hours |
3D-model
materials
| material | estimated cost |
|---|---|
| 2x 800x400x18mm solid oak | 30€ |
| 1x 800x400x2mm translucent acrylic | 5€ |
| filament for 3D-printed parts | 0,5€ |
| various screws | 3€ |
| mounting hardware | 3€ |
| 12V led stripe 5m | 15€ |
| led power supply 12V 5A | 15€ |
| sum | ~71,5€ |
assembly process
1. Let the CNC-router cut all the parts
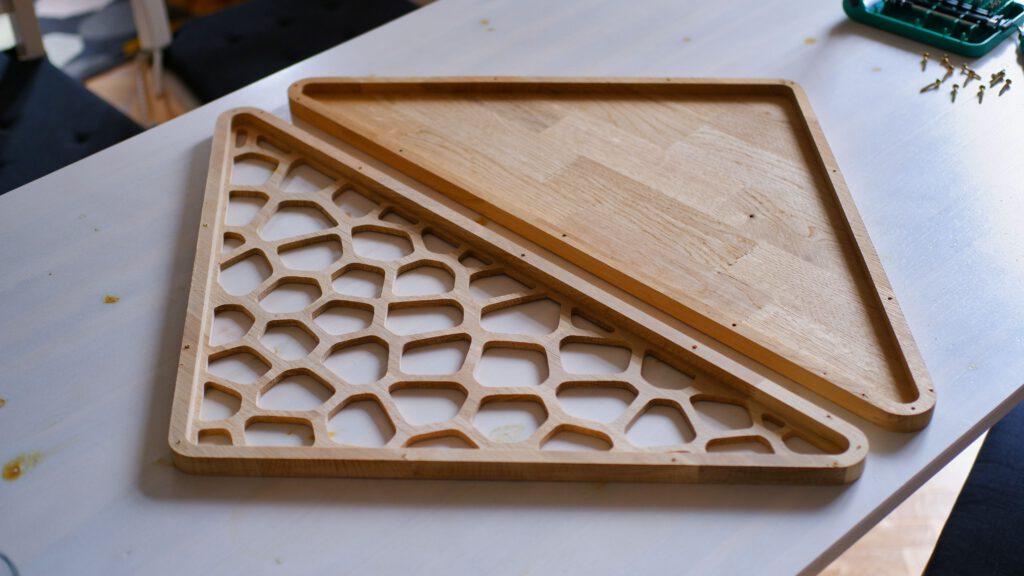
2. Drill all the pilot holes to screw the two plates together
3. Sand all the edges and align the two sides

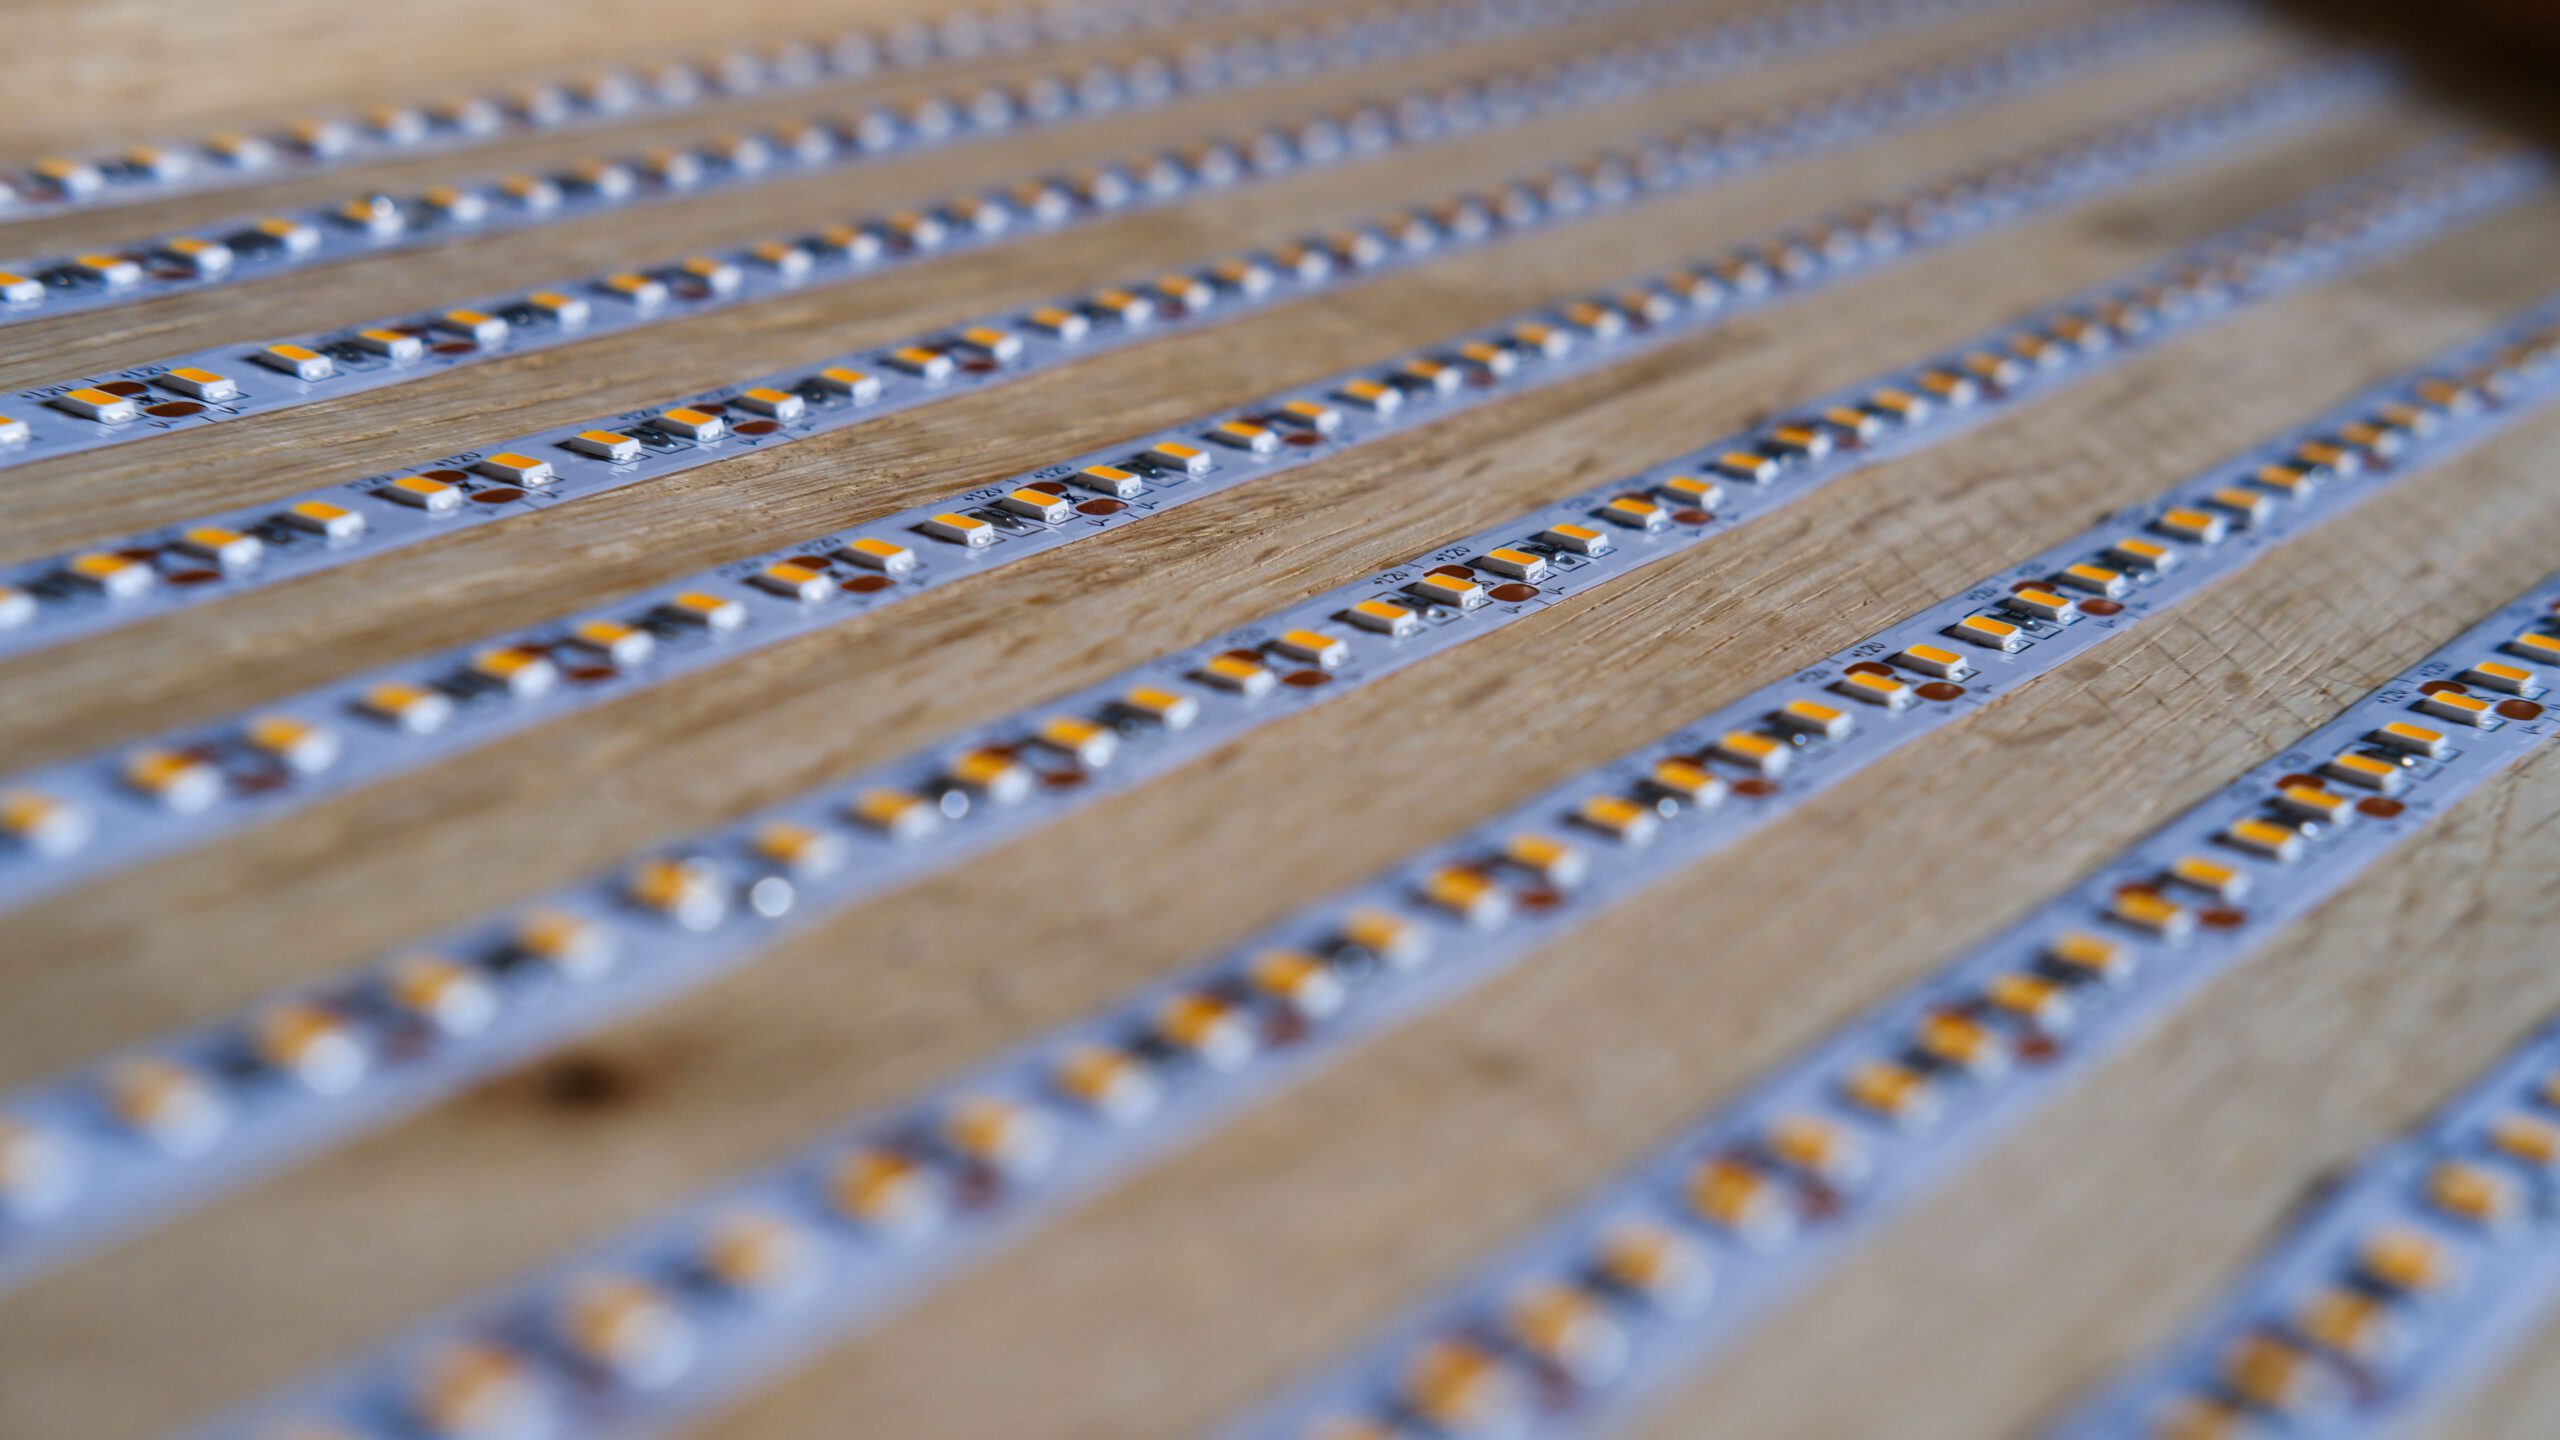
4. Cut all the stripes to length and glue them in place

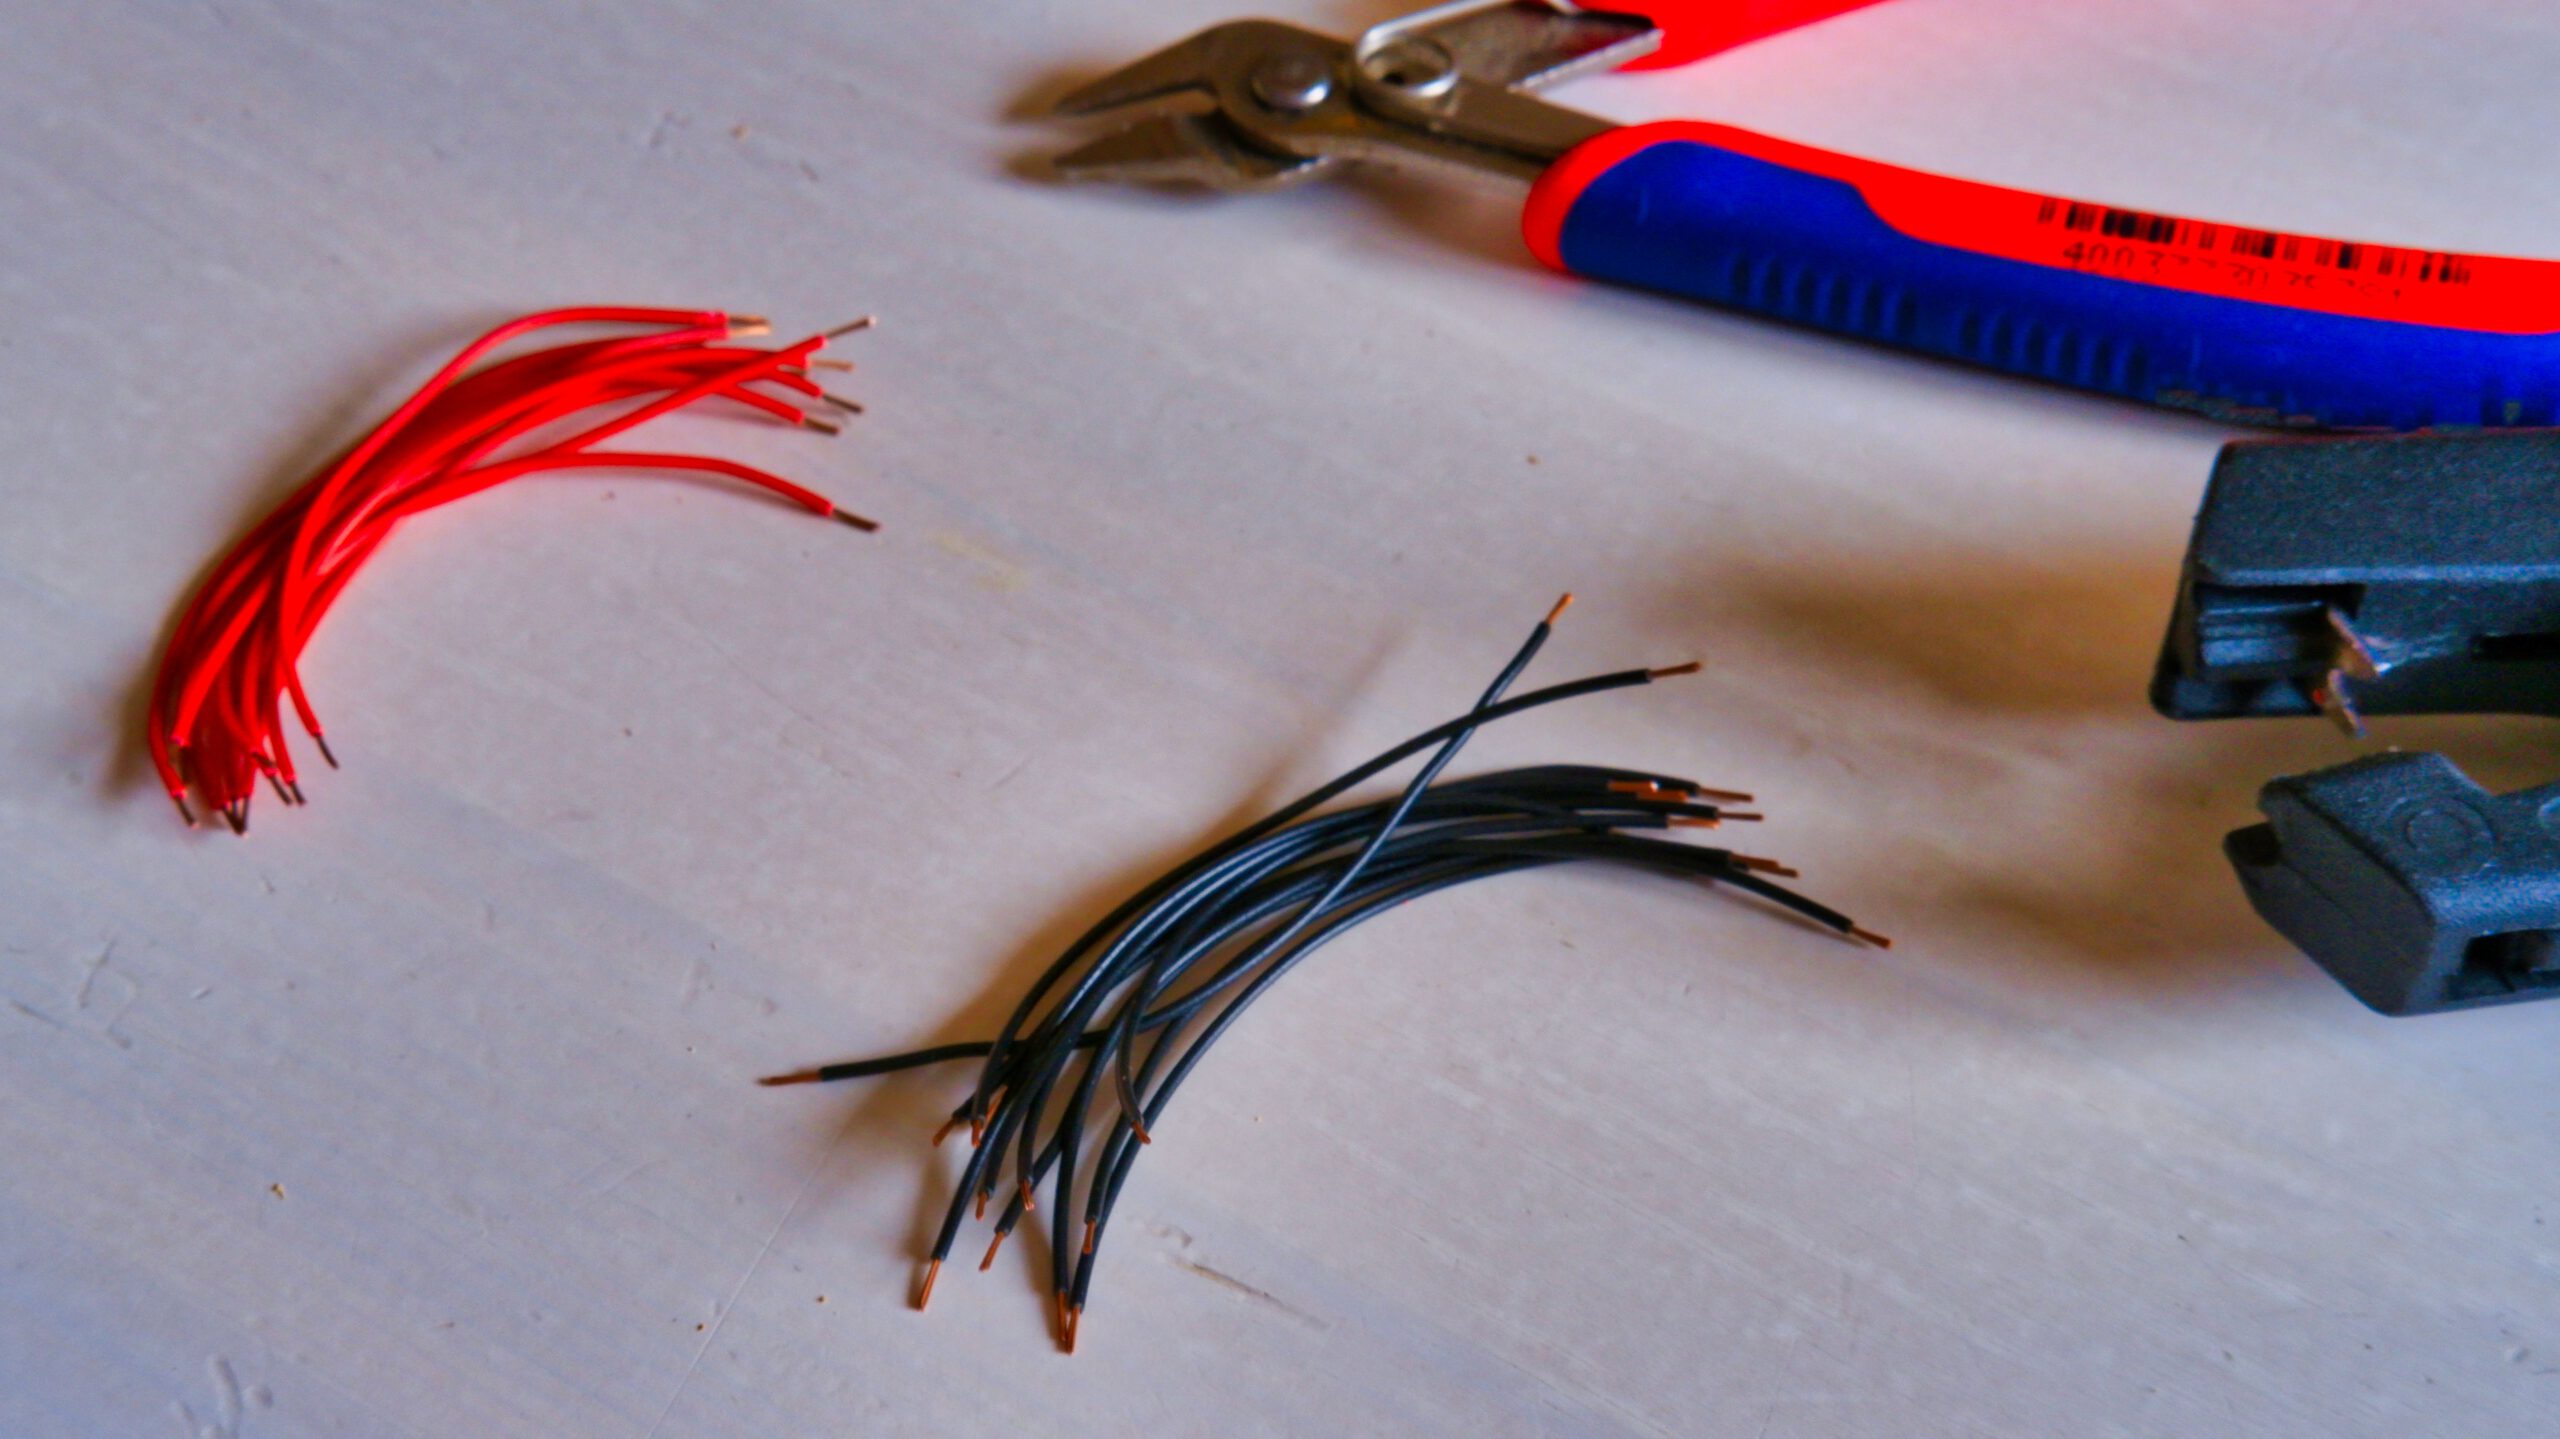
6. Prepare the wiring
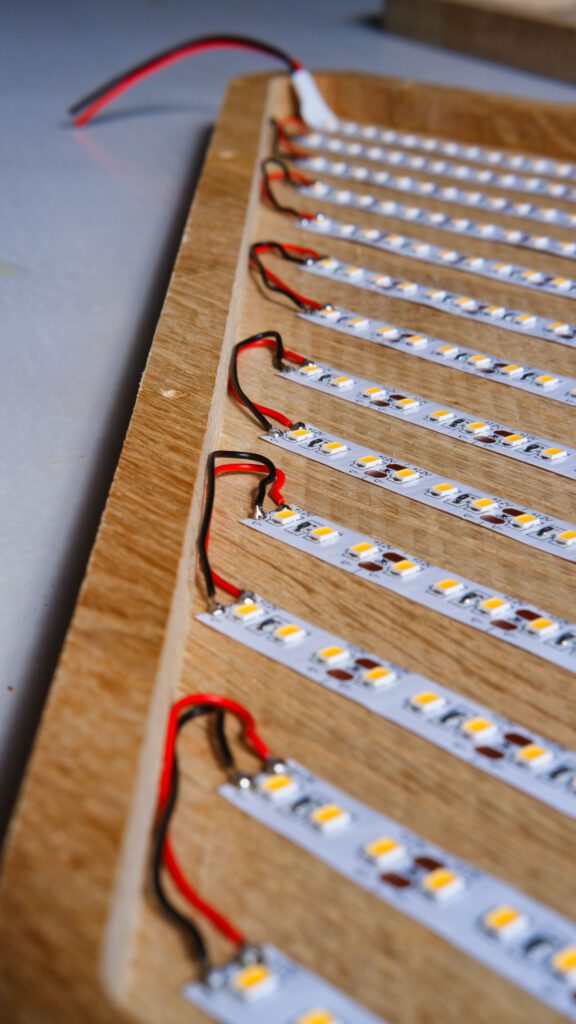
7. solder the stripes together
8. print the wire rope holders and insert the brass threads
9. glue/screw the the wire rope holders on the top piece
10. Insert the diffuser and mount the lamp to the ceiling and connect the wiring
project pictures


social
If you want to stay tuned for future projects follow me on Instagram:
@things_ex_machina