
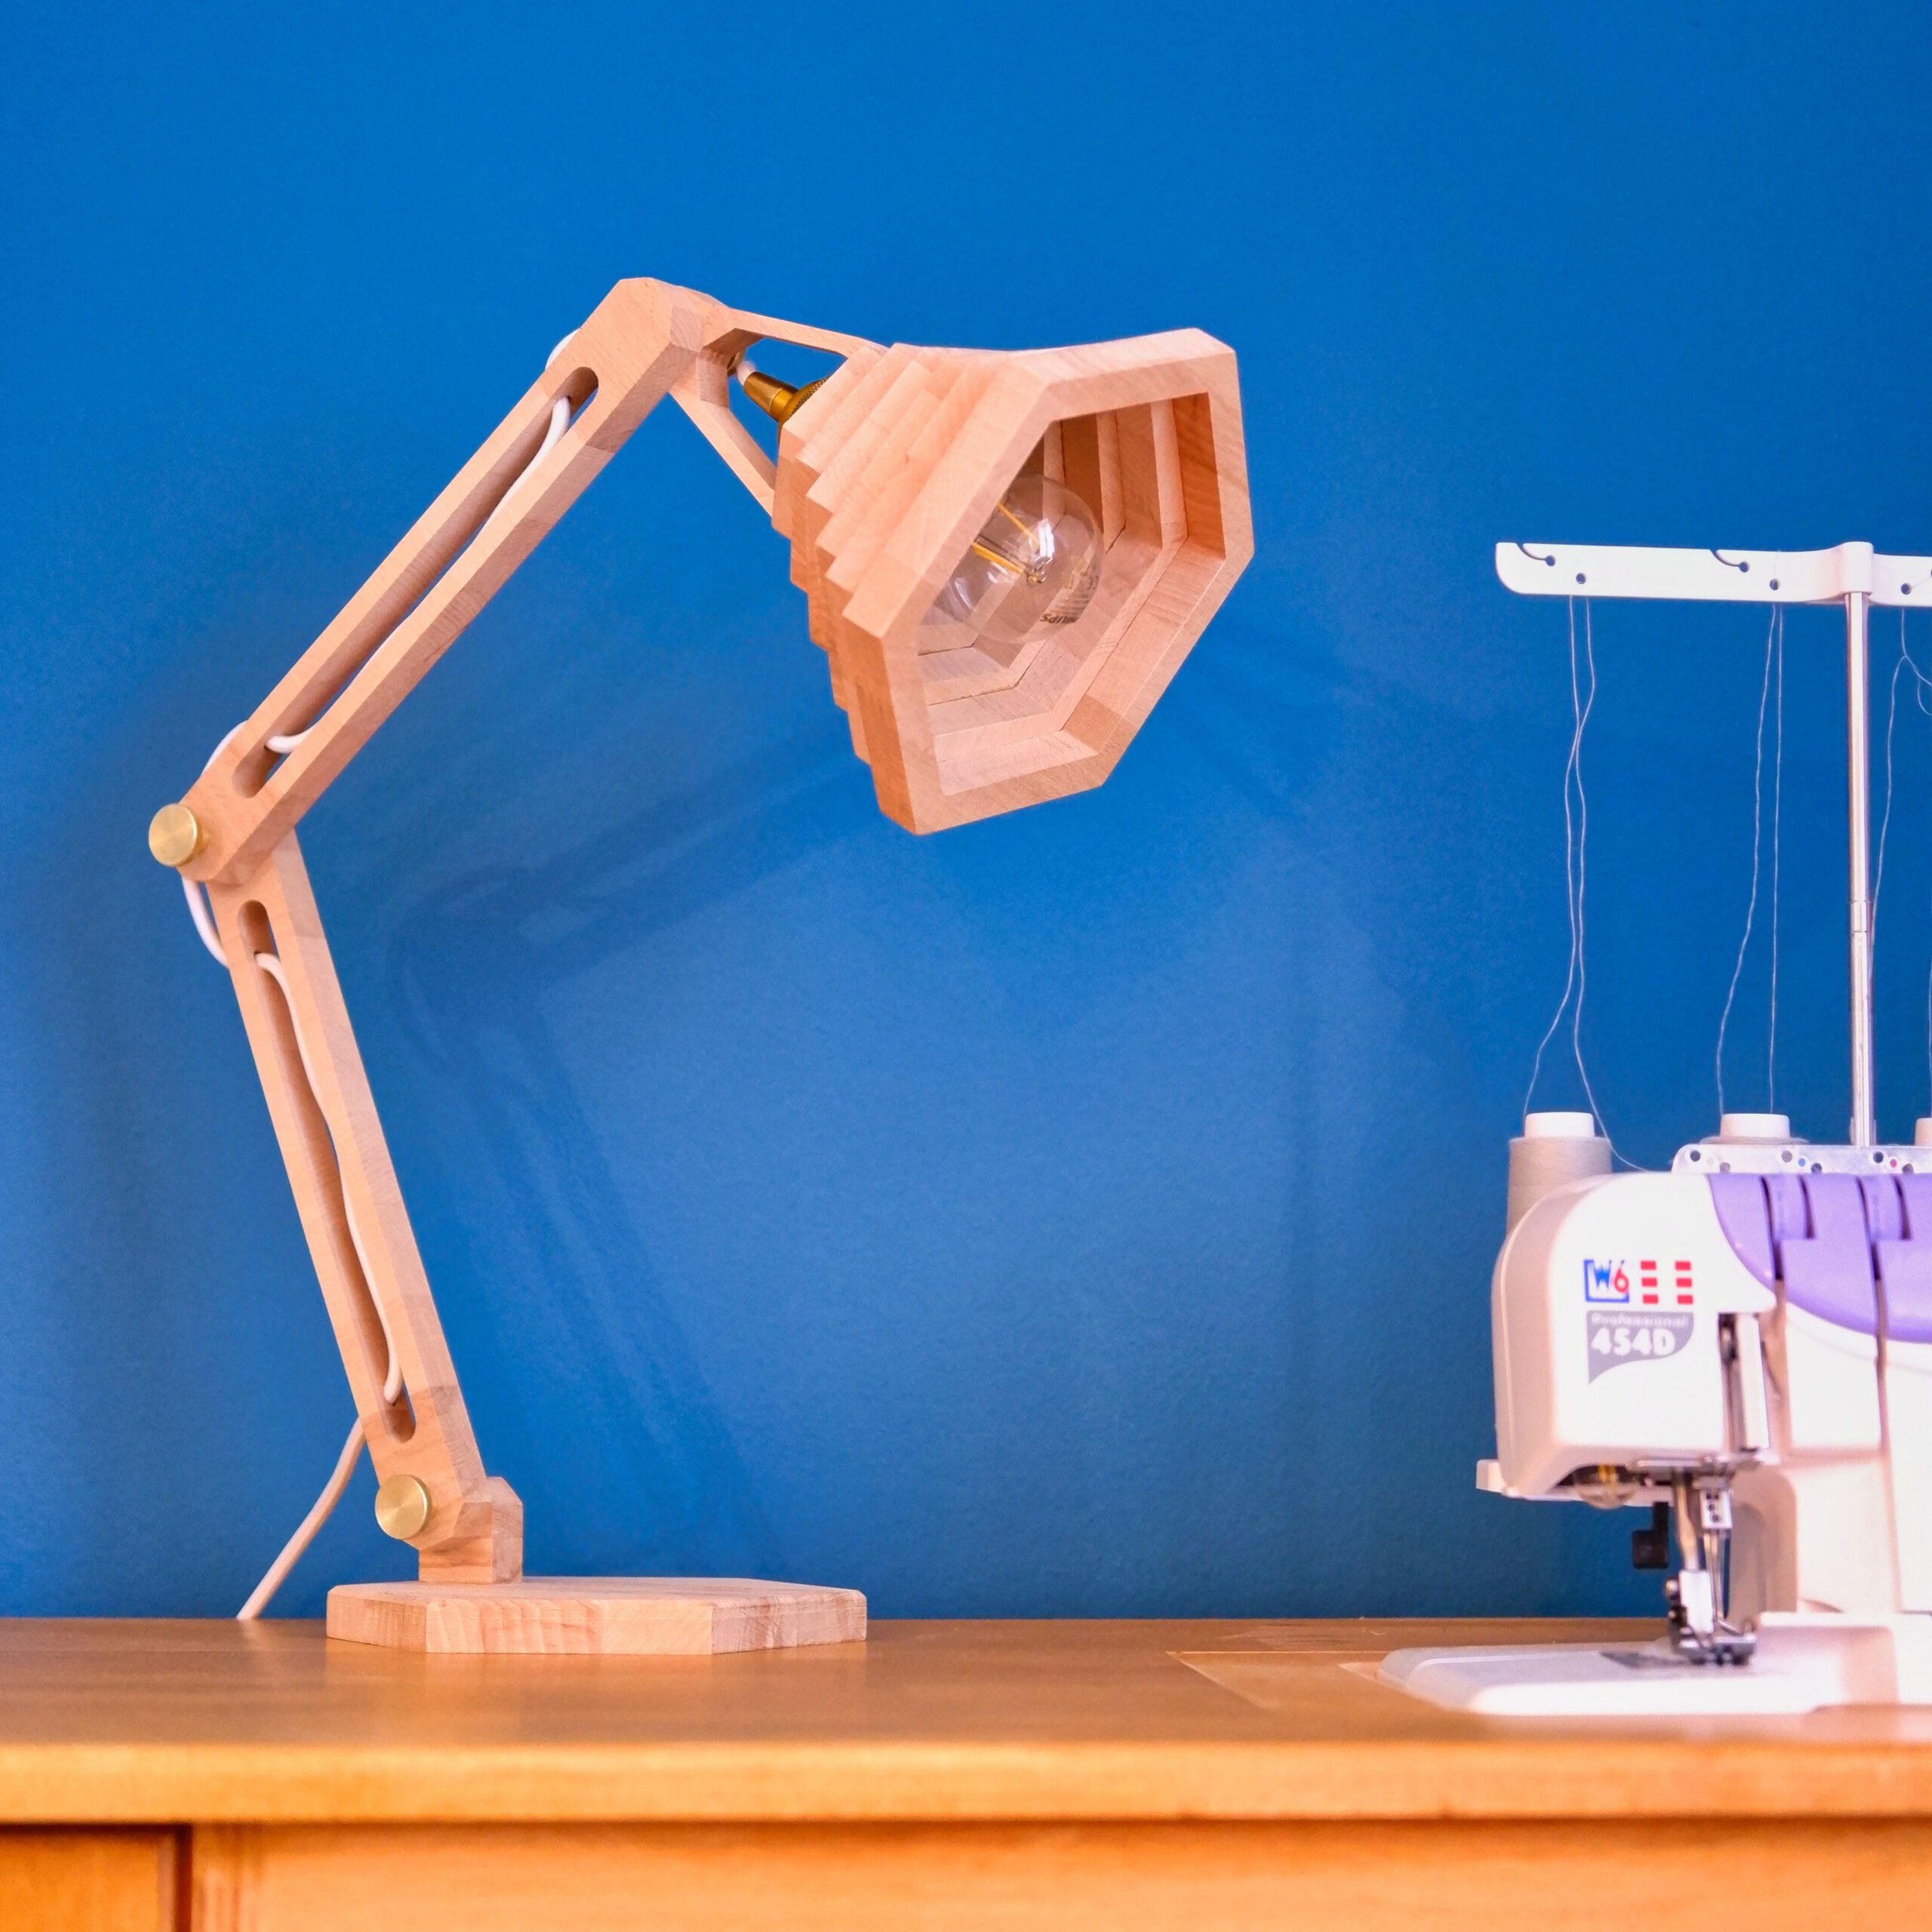
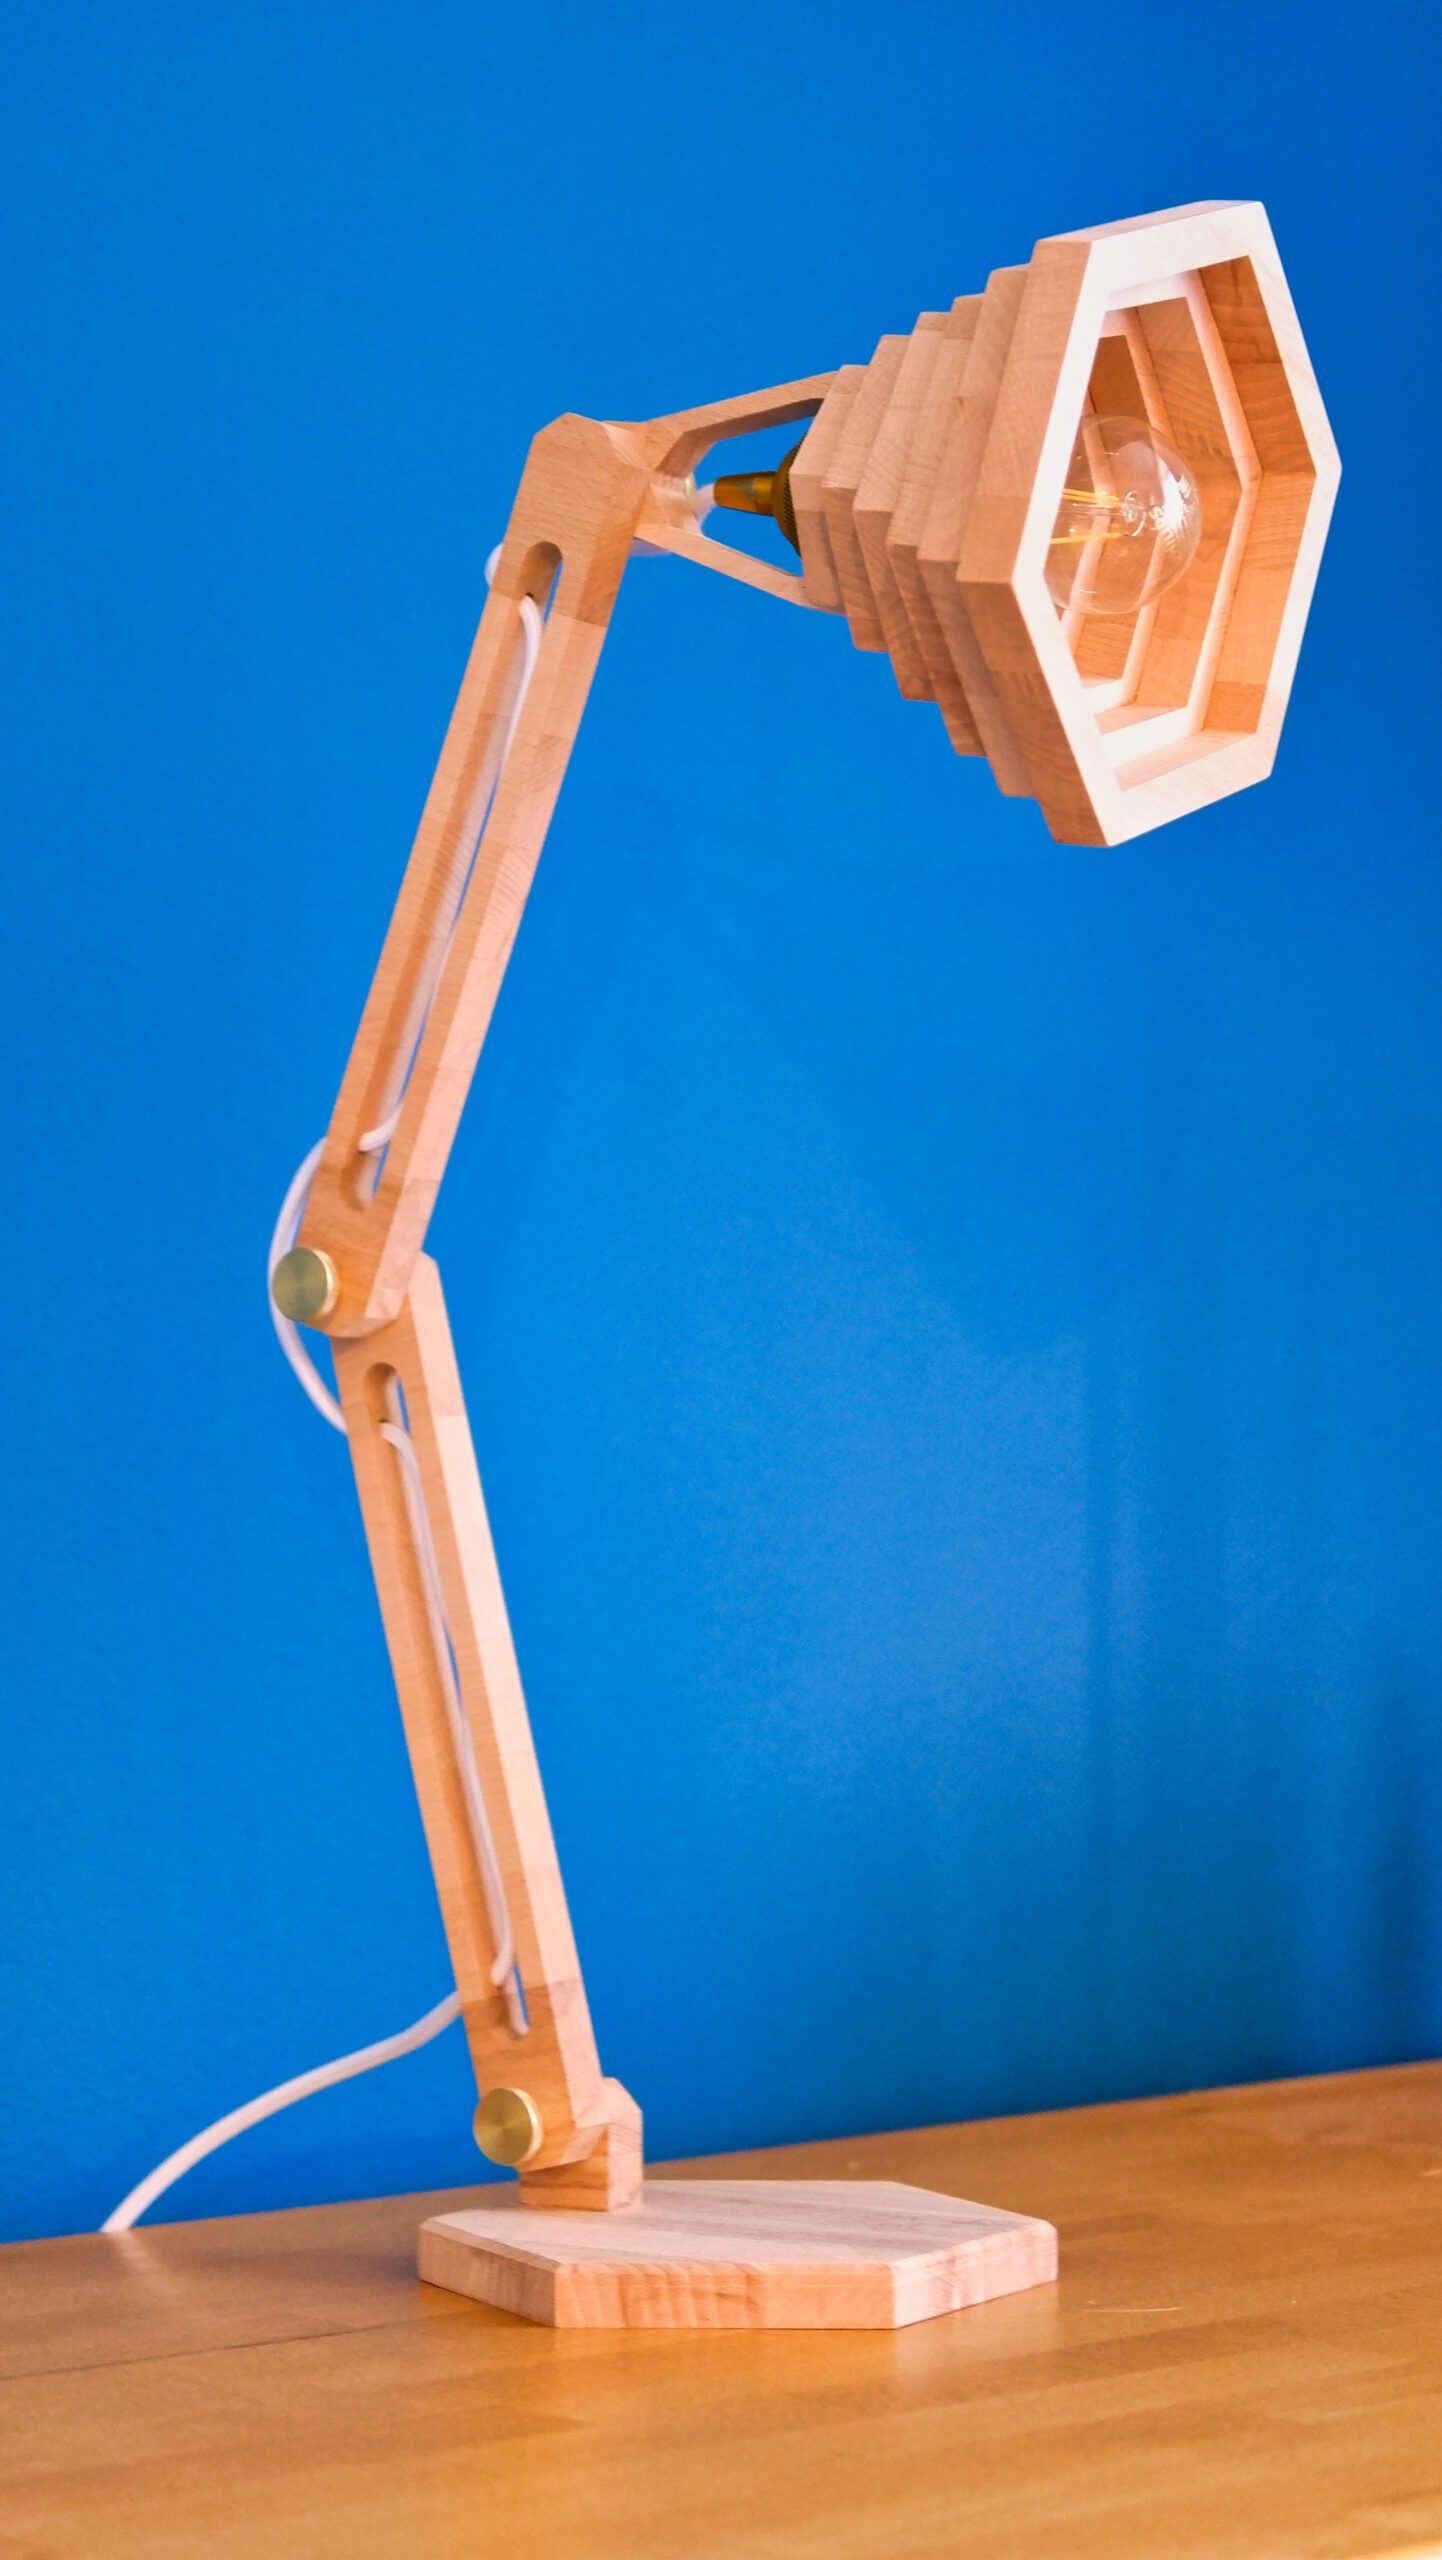
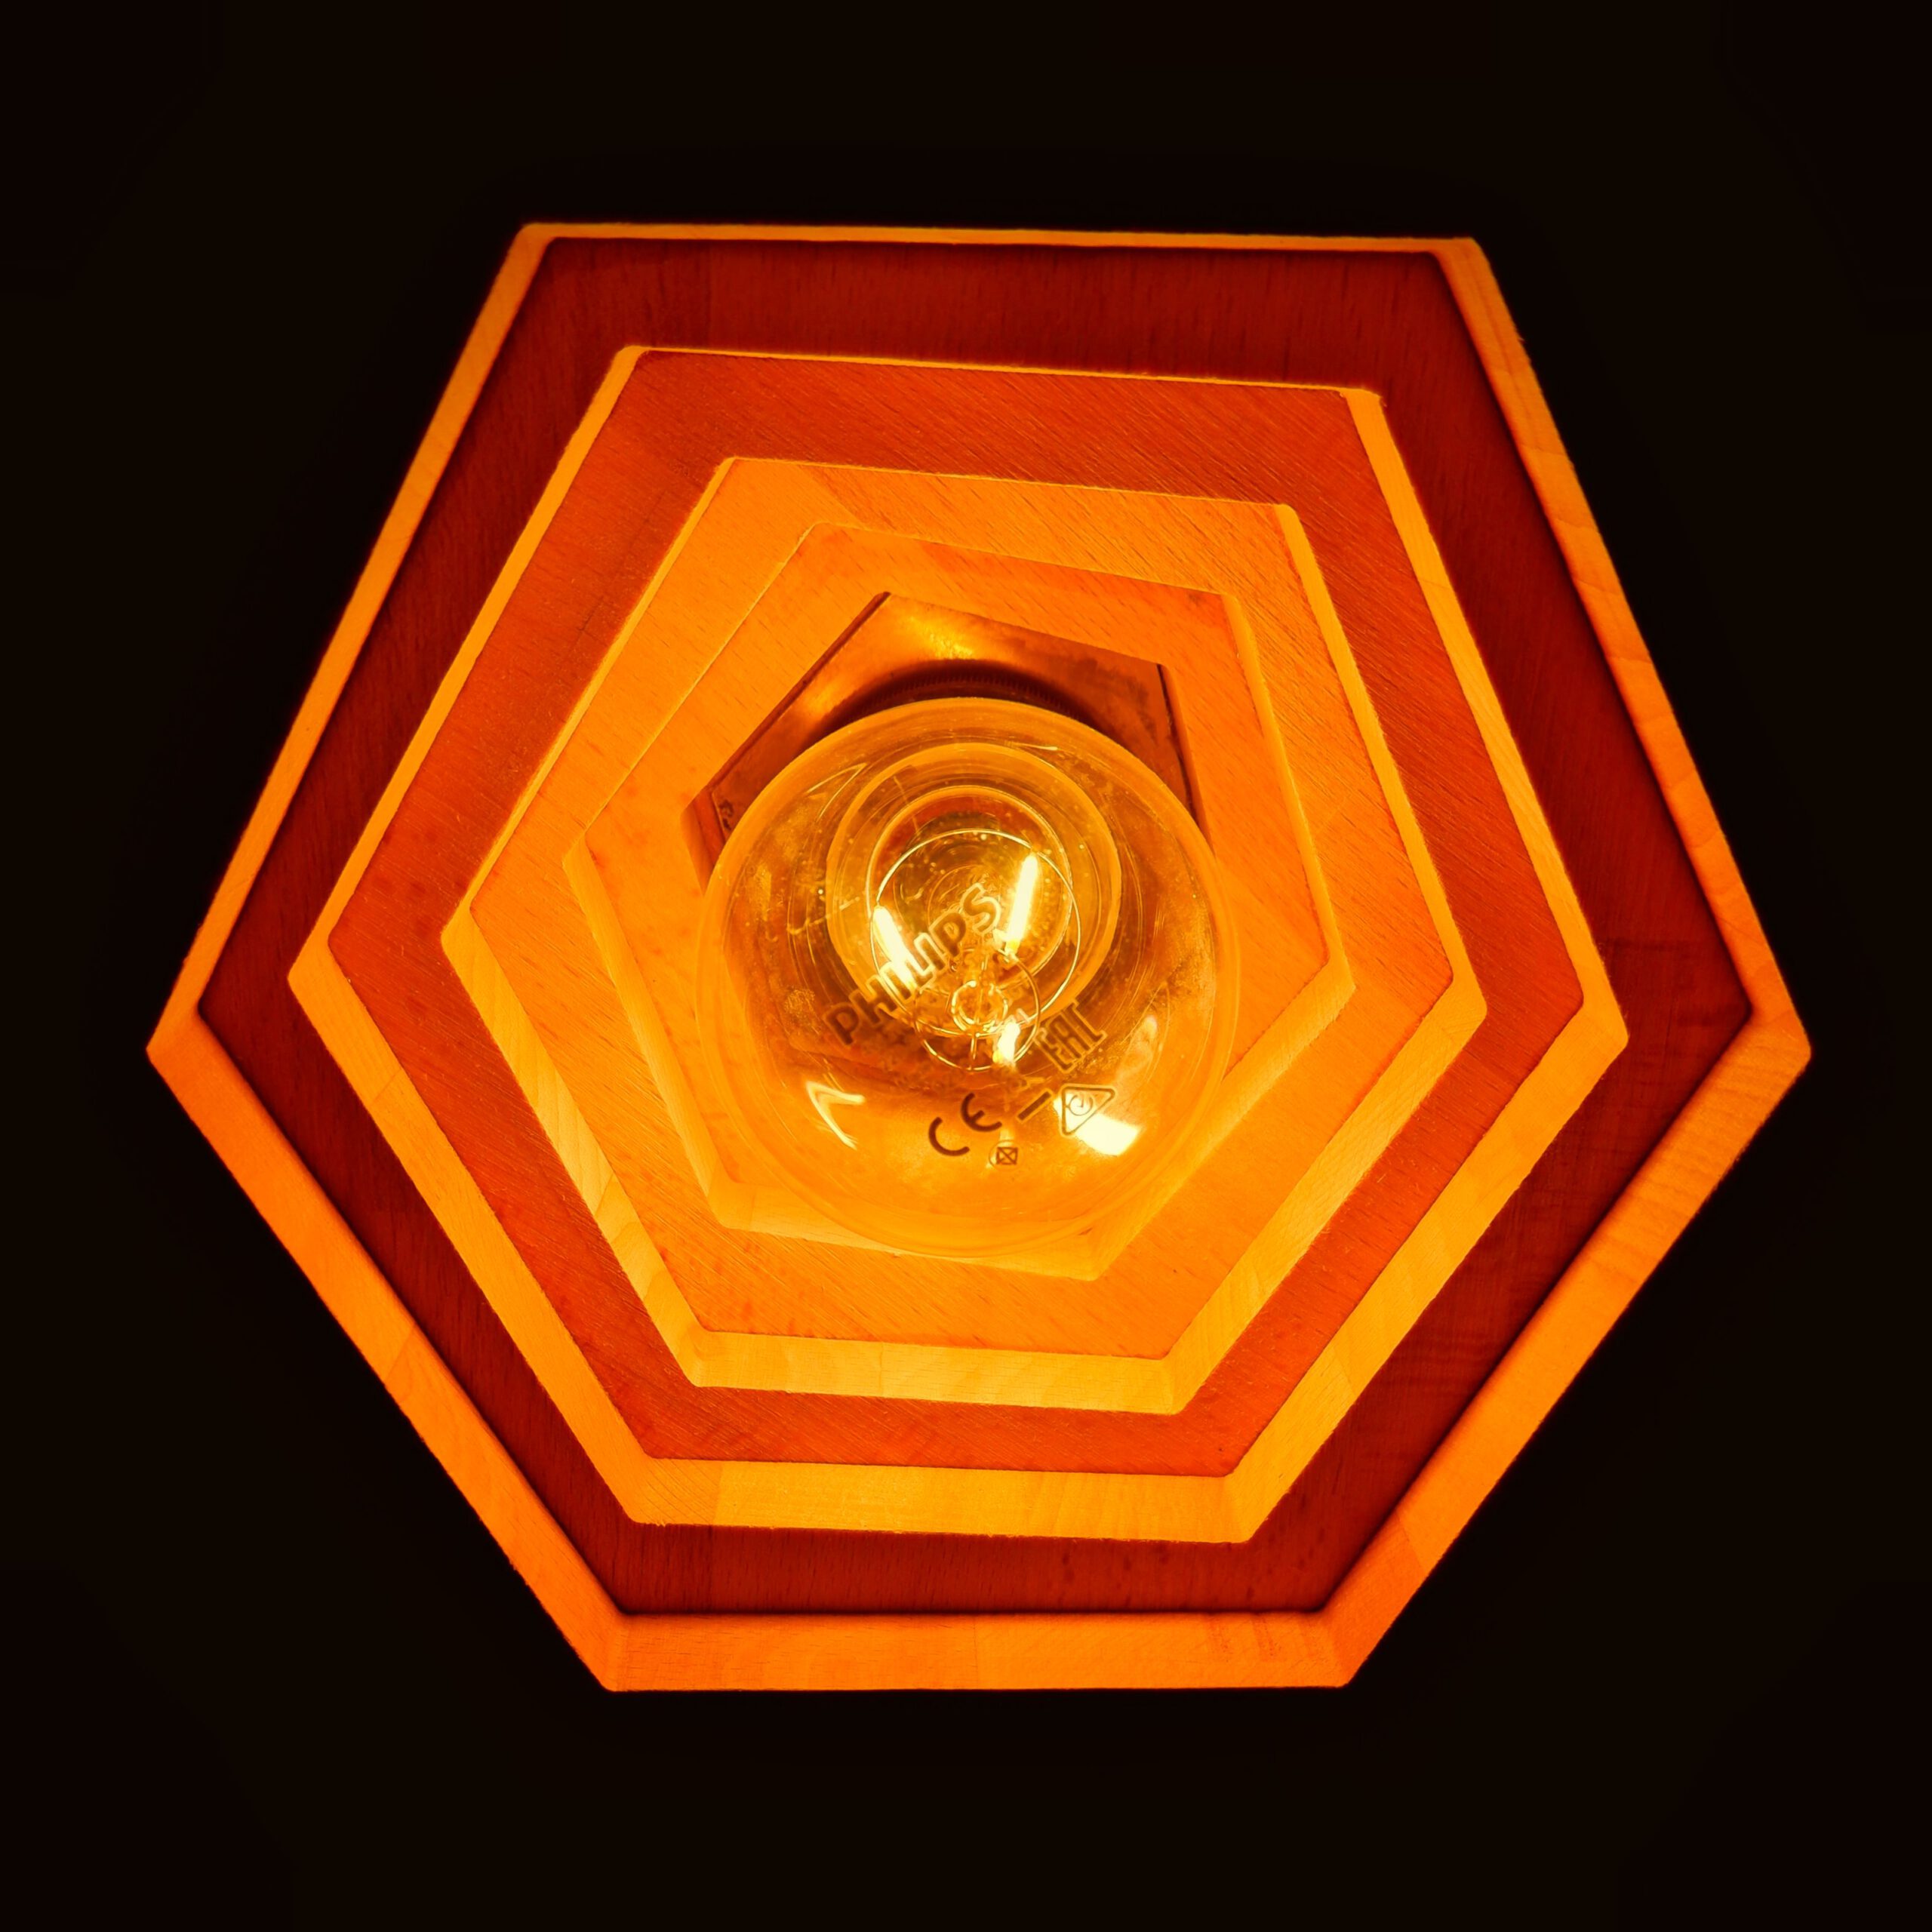
As an addition to the sewing table of my wife, i built this geometric desk lamp out of wood/brass.
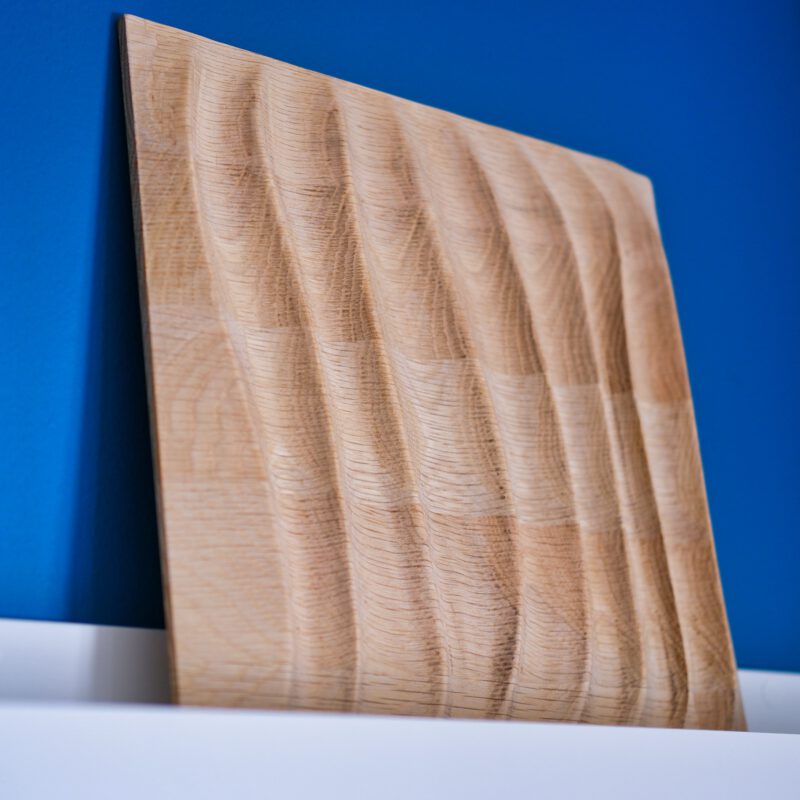
The entire lamp is built out of 18mm solid beech with brass hardware. Six polygons that are rotated 5° to each other are glued together to form the lamp shade.
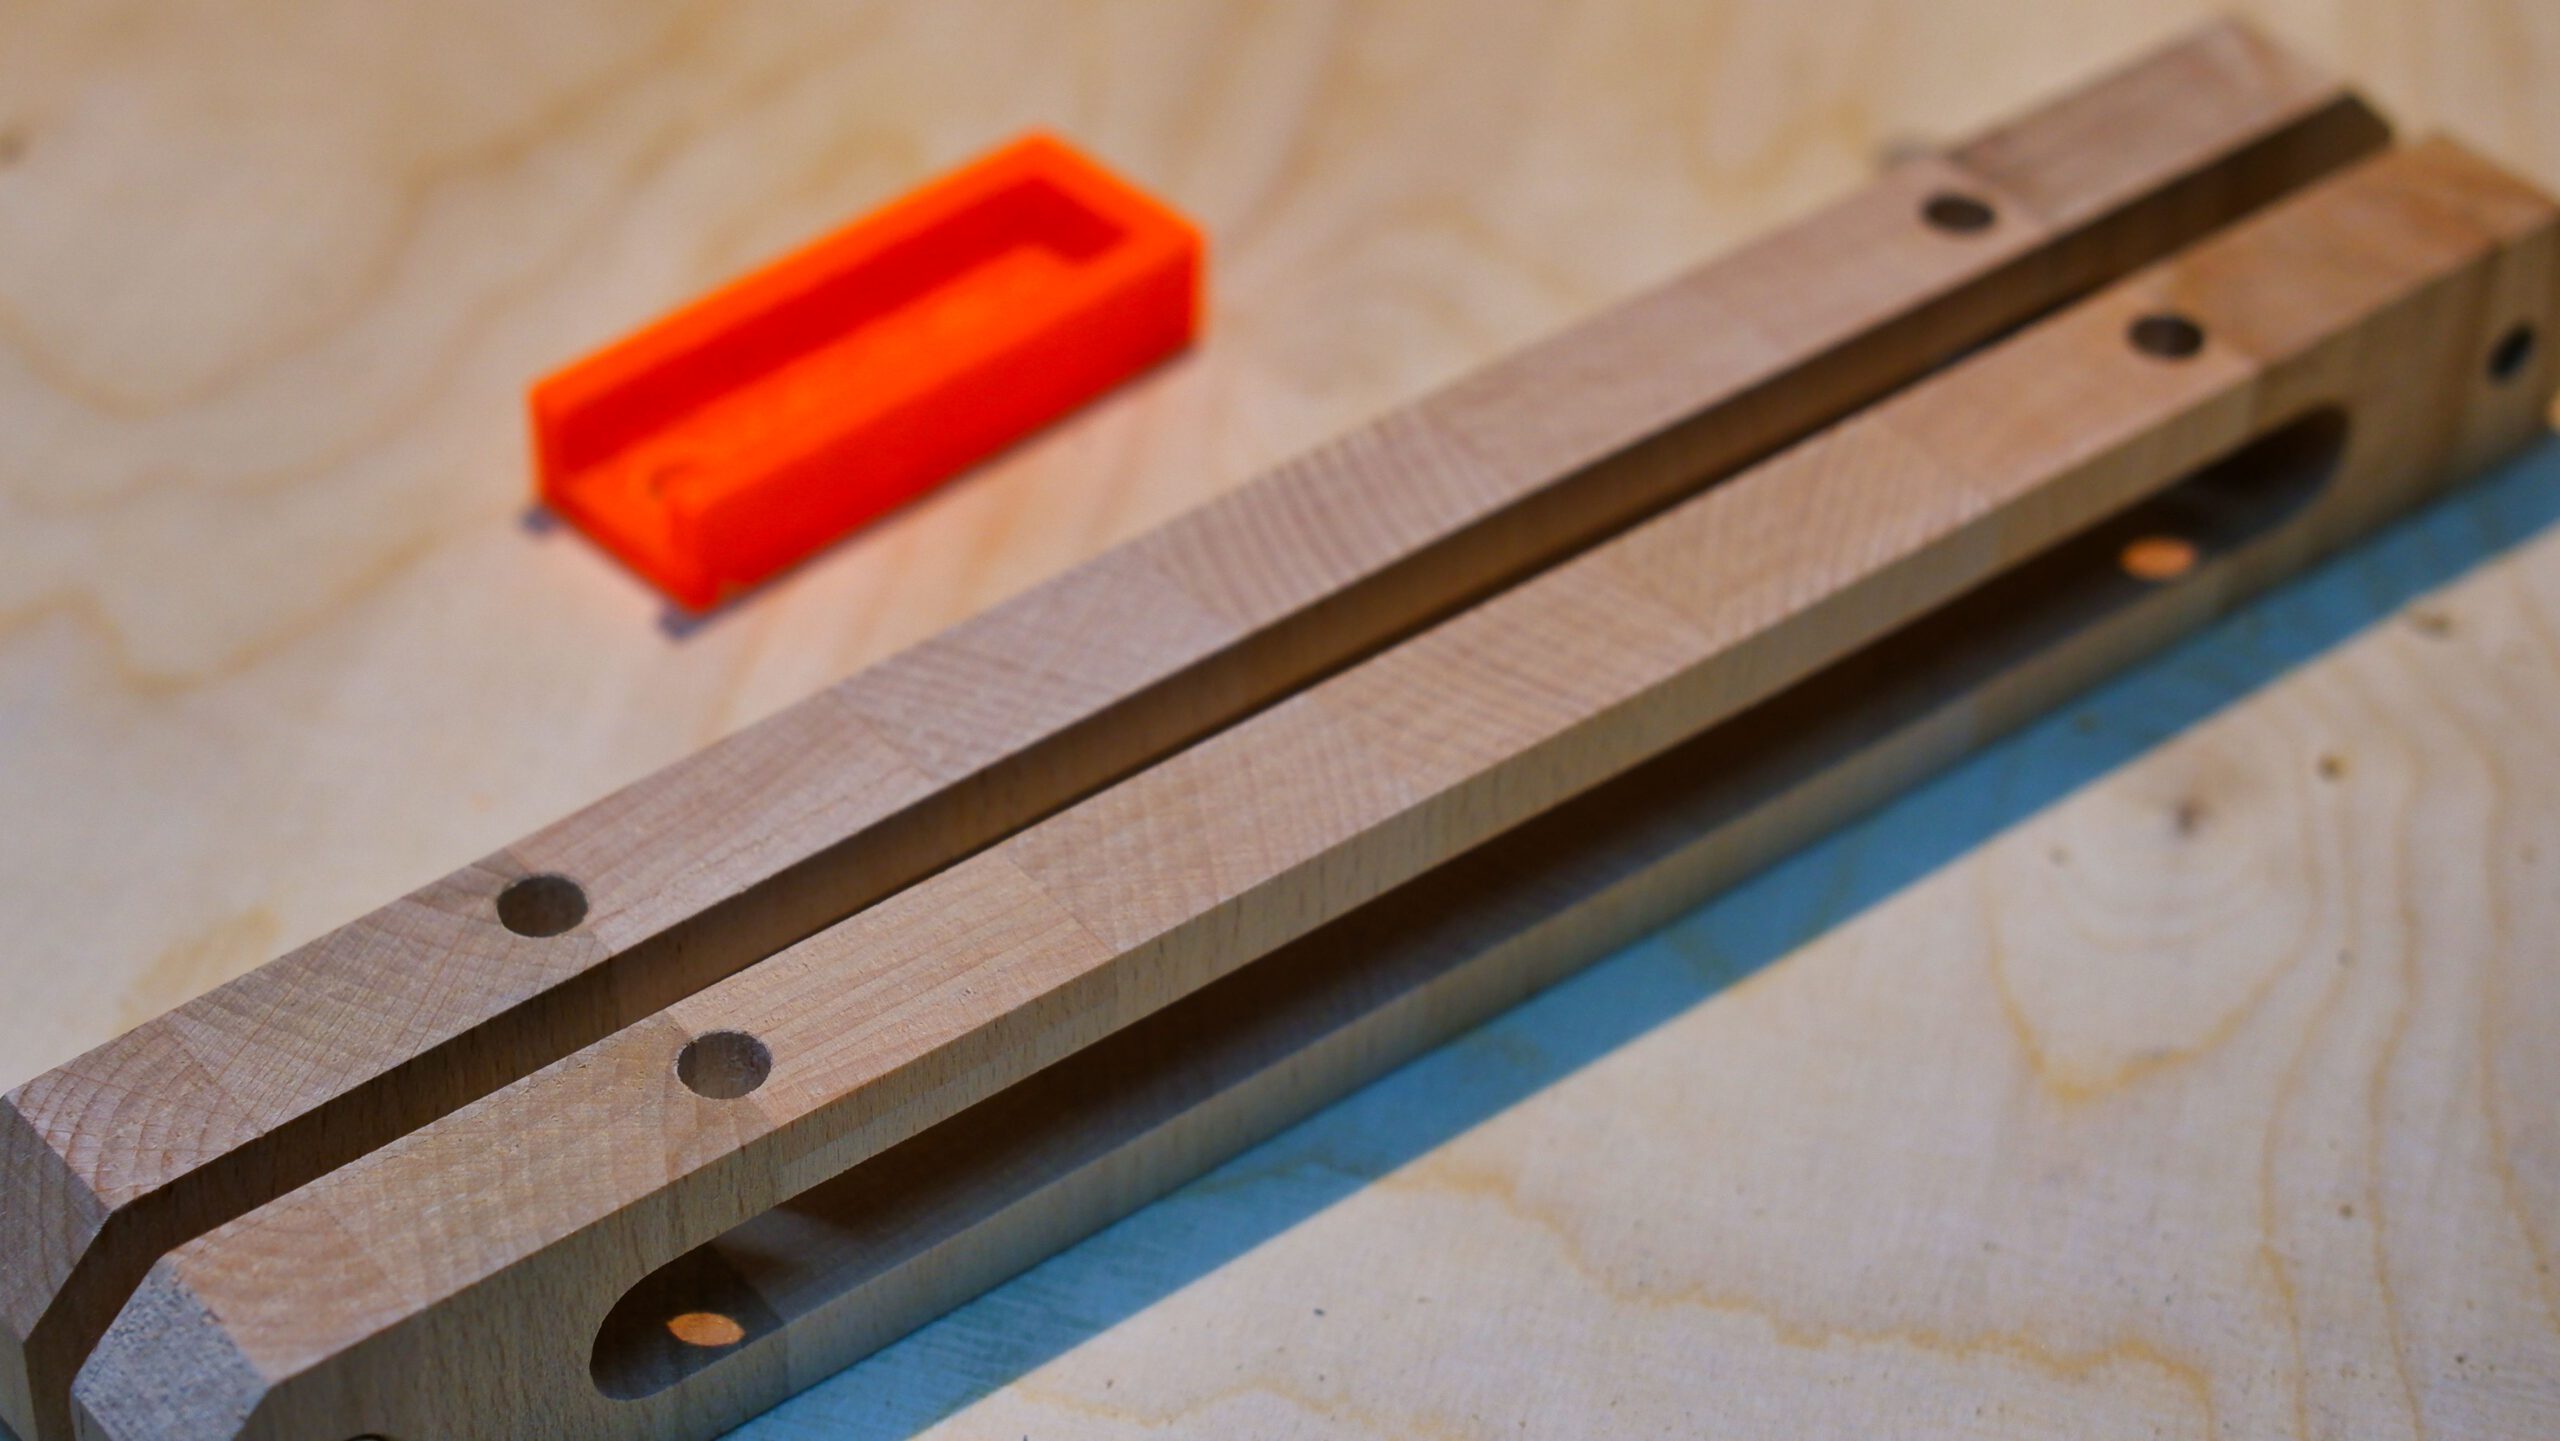
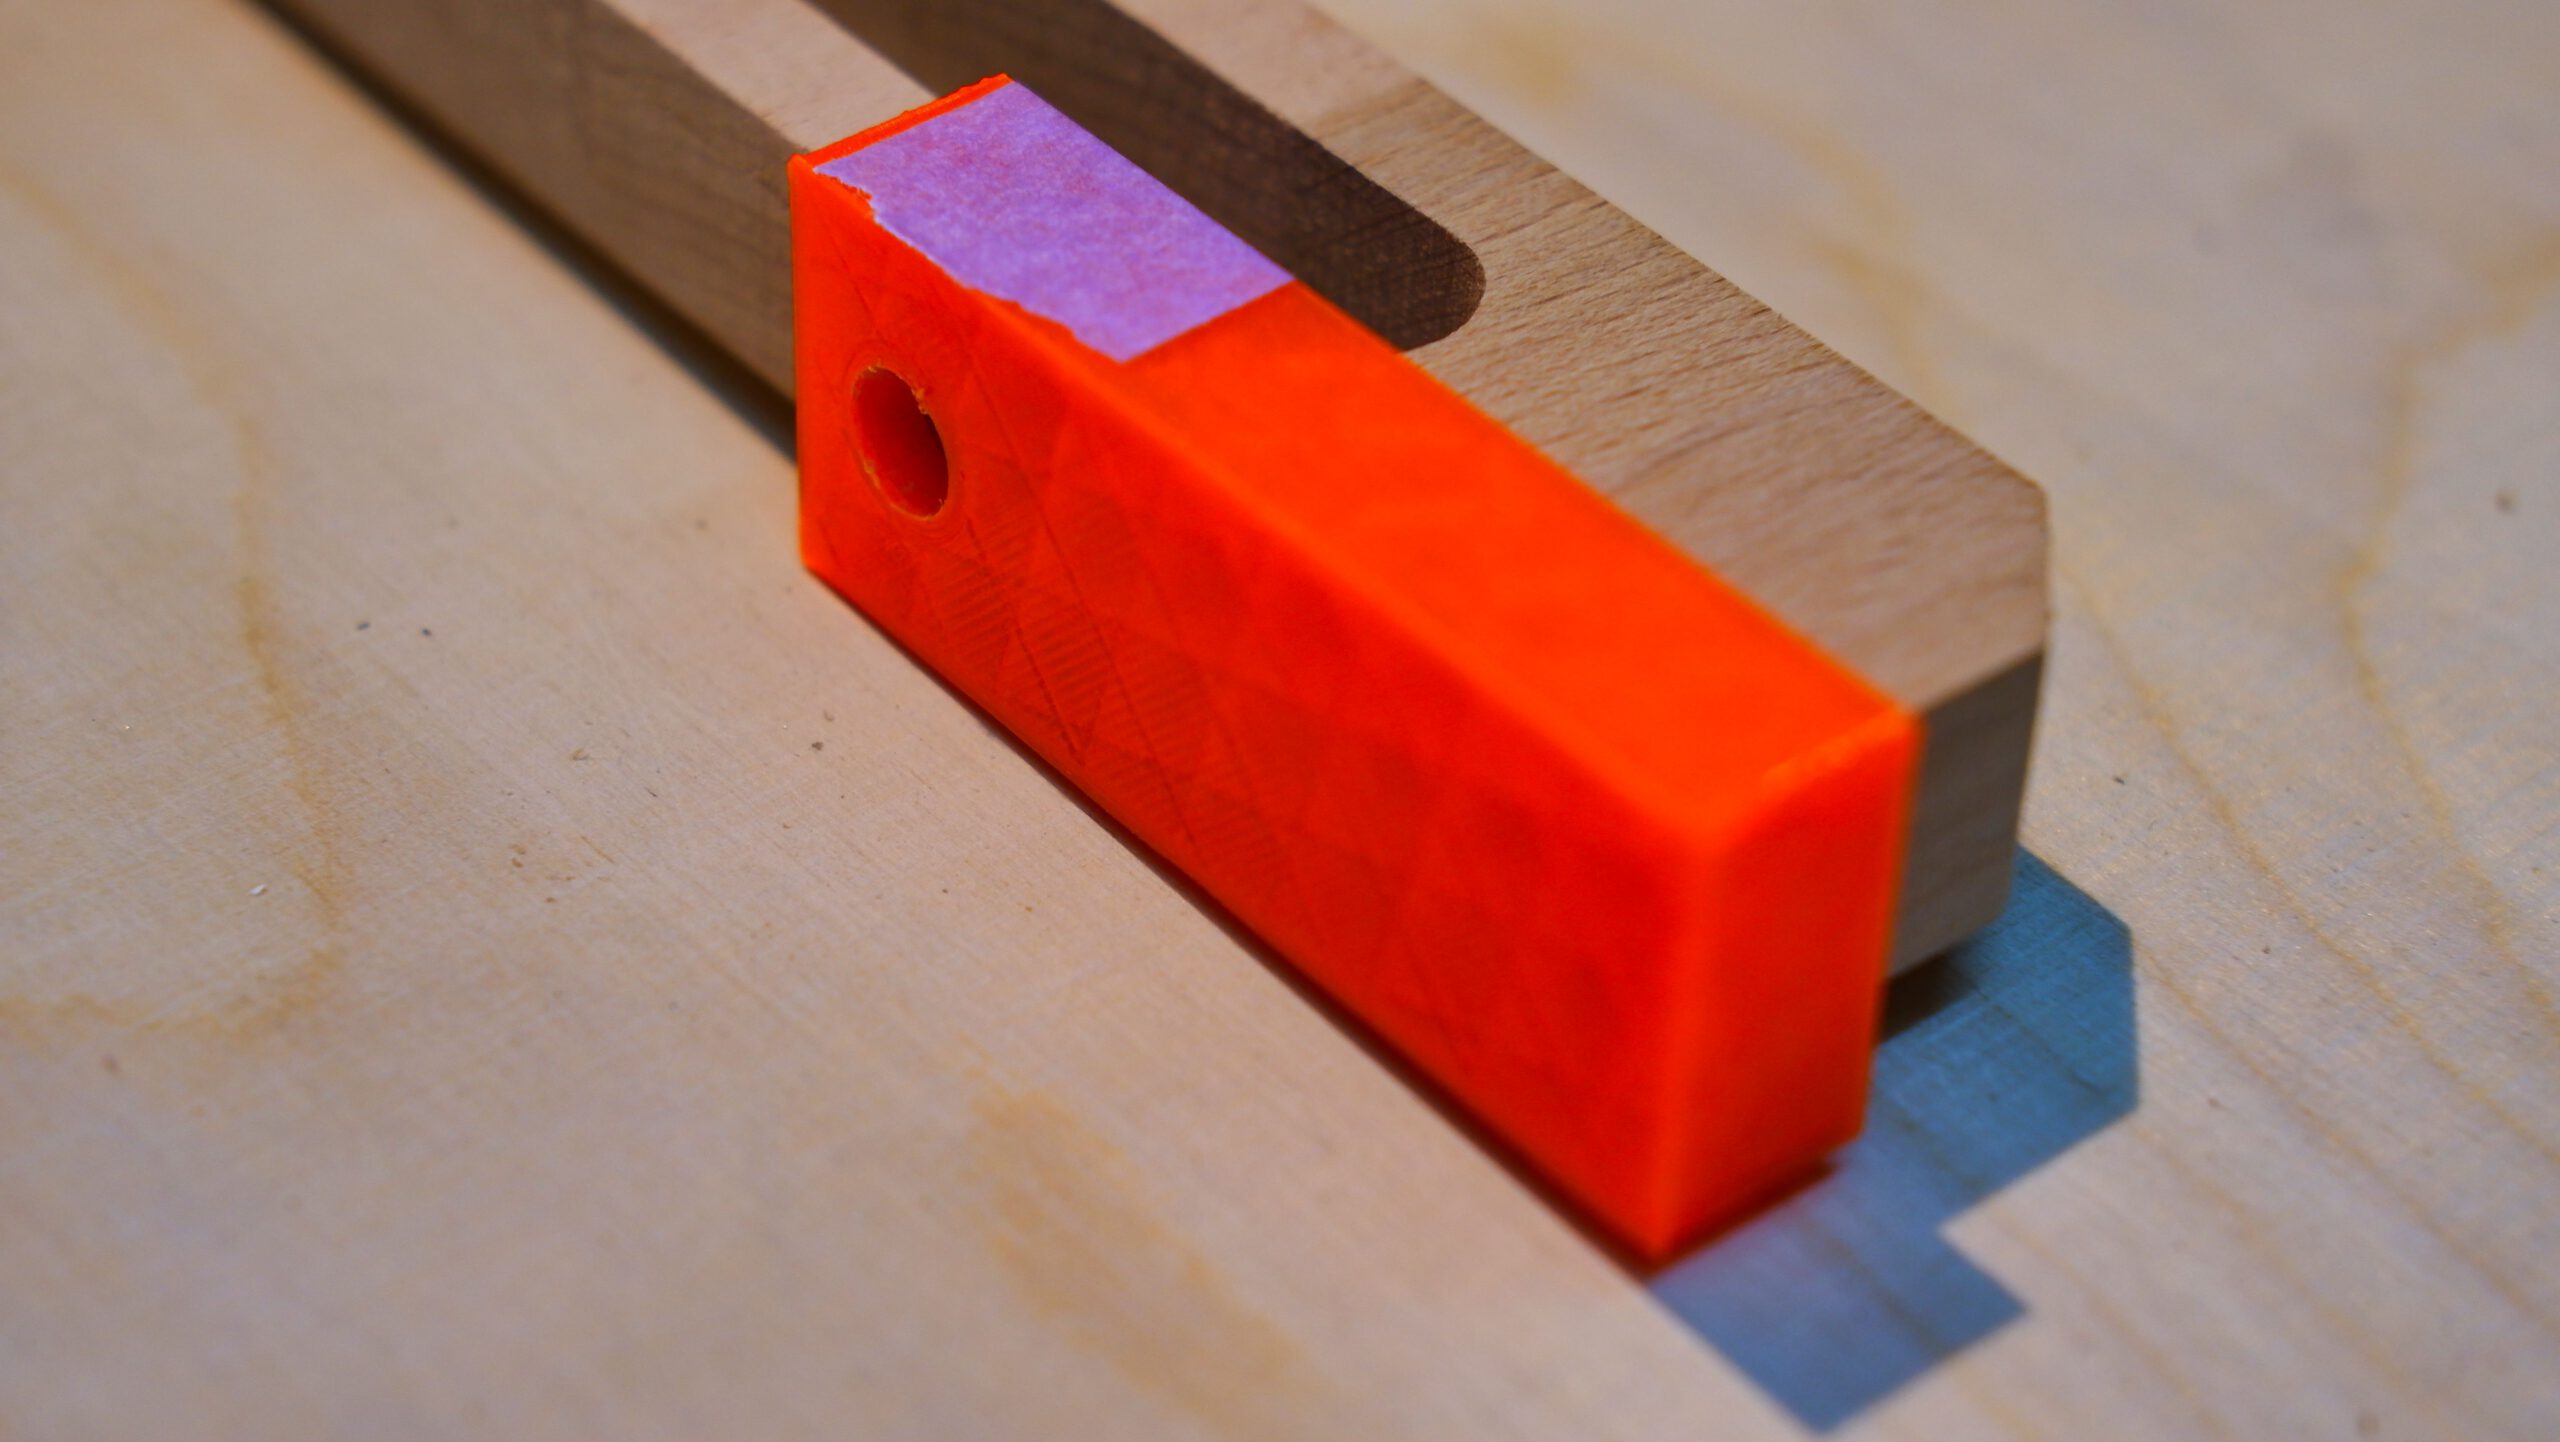
To make the assembly process of these complicated geometric shapes easier i build various 3D-printed assembly helpers. You can check them out below. Enjoy!
project facts
| dimensions: | ca. 560mm x 200mm x 400mm (HxWxD) |
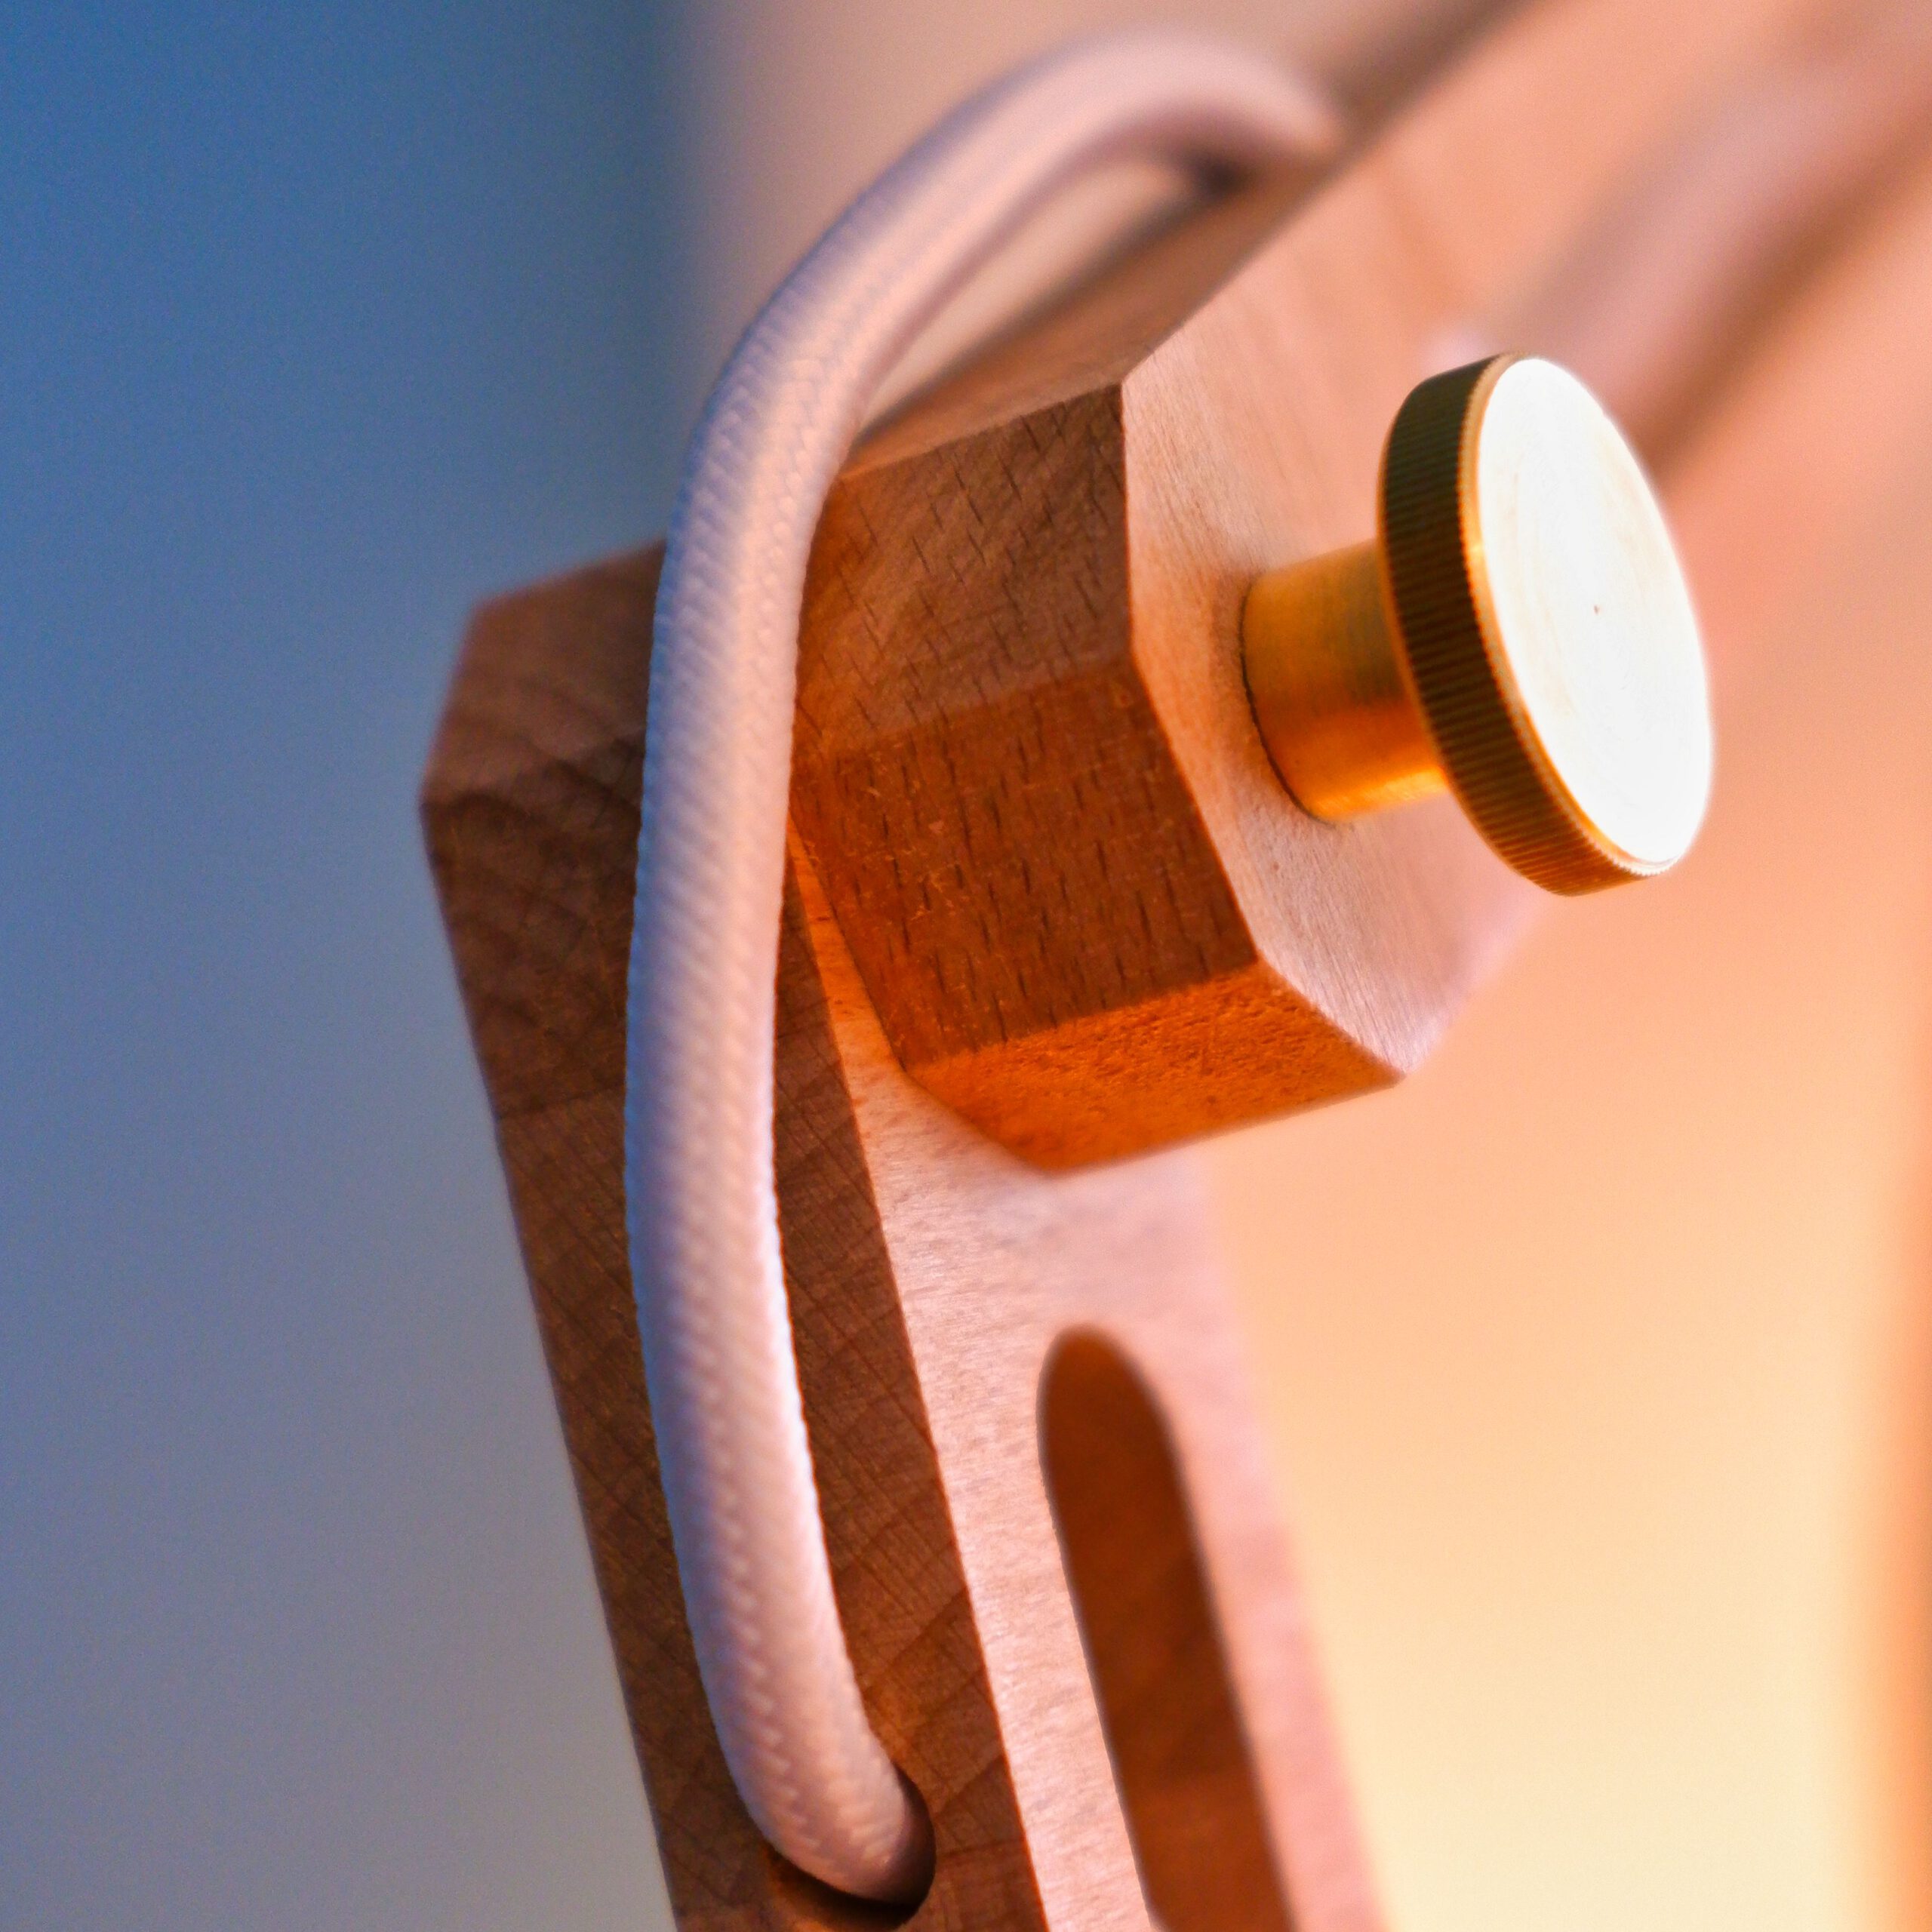
| material: | 18mm solid beech, brass (thumb screws and lamp socket) |
| estimated material cost: | ~38,5€ |
| tools: | cnc-router, 3D-printer (optional), sander, drill press (or atleast a drill), electrical equipment to connect the lamp socket |
| difficulty: | medium |
| assembly time: | 2-4 hours |
| cutting time: | ca. 1 1/2 hour |
| printing time: | ca. 8 hours |
3D-model
materials
| material | estimated cost |
|---|---|
| 800x400x18mm solid beech | 5€ |
| filament for 3D-printed parts | 2€ |
| brass lamp socket E27 | 6€ |
| 3x brass thumb screw M6x25mm DIN464 | 13,5€ |
| 3m fabric covered cable | 10€ |
| 3x Threaded inserts M6x15mm | 1€ |
| sum | ~38,5€ |
assembly process
- Cut out all the wooden parts and the one brass part
- Print all the assembly helpers (optional but recommended)
- Glue the “arm-mount” to the base station
- Drill holes for the cabling using the drill guide
- Glue all the parts of the lamp shade together using the 3D-printed 5° fixture
- Glue the brass plate into the lamp shade
- Screw in the lamp socket and into the brass plate
- Screw all the pieces together using the thumb screws
- Route all the cabling through the arms
- Connect the cable to the socket and install a plug
Here is a video of the 3D-printed helpers in action:
Musiker: Fullstack
URL: https://icons8.com/music/
project pictures


social
If you want to stay tuned for future projects follow me on Instagram:
@things_ex_machina